
To add acoustic panels to your setup, start by identifying key reflection points on your walls and ceiling. Measure your space carefully to determine how many panels you’ll need and choose styles that match your decor. Prepare your walls by cleaning and marking proper spots, then secure the panels using hardware or adhesive depending on weight and wall type. Proper placement and installation make a big difference, so continue exploring for detailed tips to perfect your setup.
Key Takeaways
- Identify primary reflection points on walls opposite or beside your sound source and listening area for panel placement.
- Choose suitable mounting hardware like brackets, adhesives, or hooks based on panel weight and wall type.
- Prepare walls by cleaning, repairing imperfections, and marking precise locations for installation.
- Install panels securely at ear level in critical listening or recording areas, ensuring even spacing and level alignment.
- Regularly dust and clean panels to maintain sound absorption and aesthetic appeal.
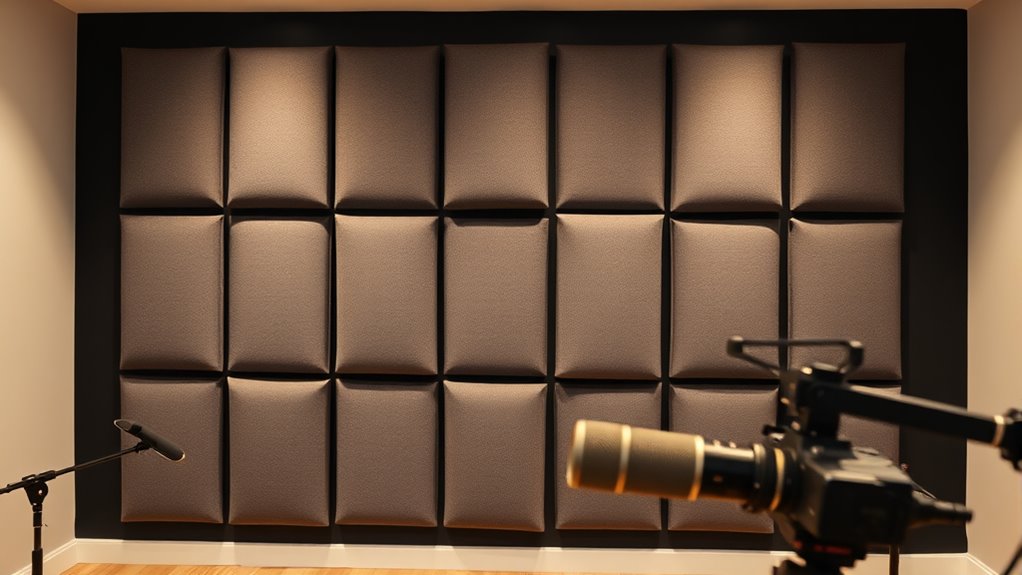
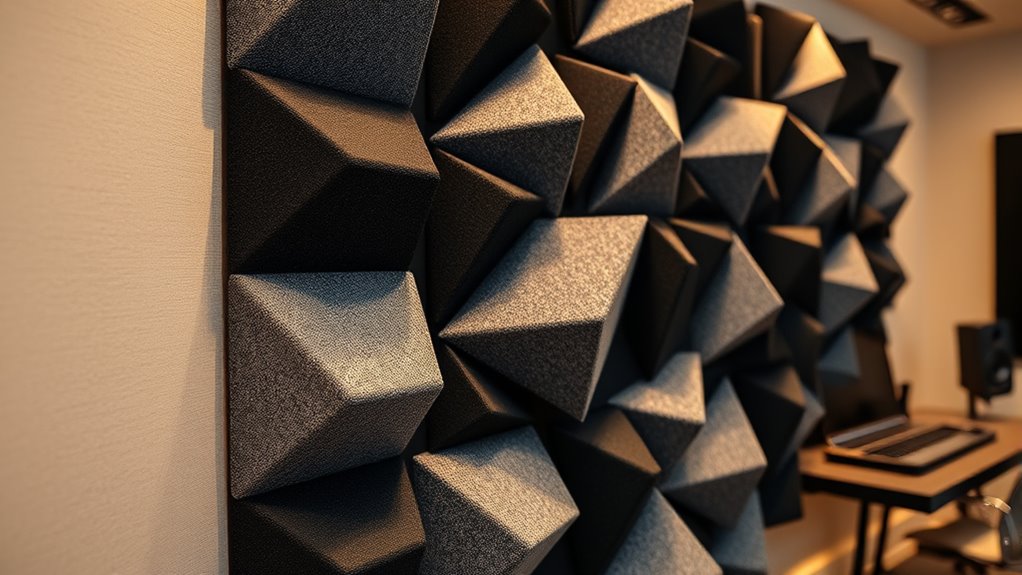
acoustic panels for soundproofing
As an affiliate, we earn on qualifying purchases.
As an affiliate, we earn on qualifying purchases.
Understanding the Benefits of Acoustic Panels
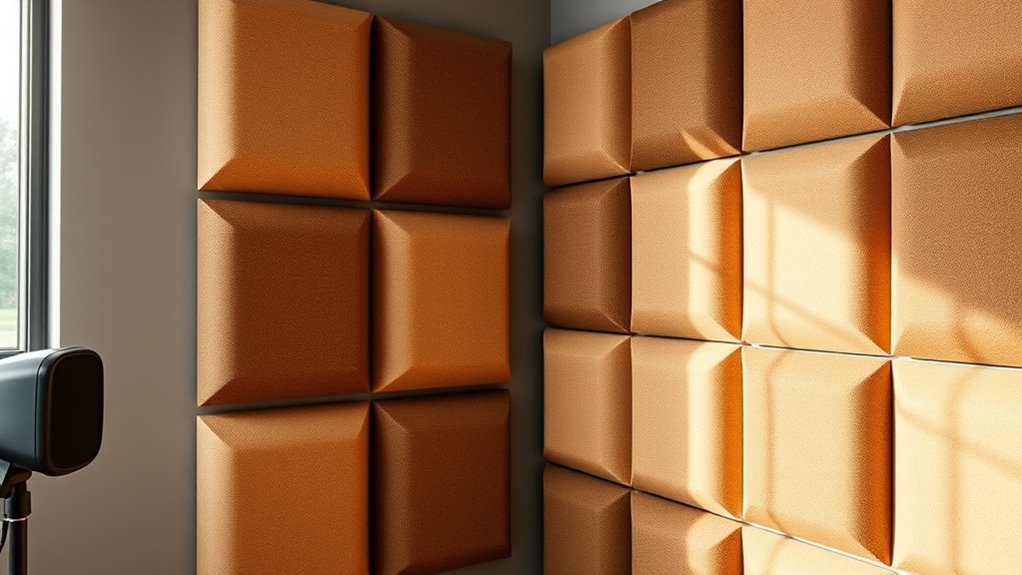
Understanding the benefits of acoustic panels is essential if you want to improve the sound quality in your space. These panels excel at sound absorption, which helps reduce echo and reverberation, creating a clearer and more balanced environment. By controlling sound reflection, acoustic panels minimize unwanted noise, making conversations more intelligible and reducing distractions. This noise reduction can greatly enhance focus in workspaces or provide a more comfortable atmosphere in entertainment areas. Installing acoustic panels allows you to take control of your acoustics without extensive remodeling. Their ability to absorb sound waves ensures your space sounds more natural and less chaotic. Incorporating professional voice actors or soundproofing techniques can further elevate your audio environment. Overall, acoustic panels are an effective, straightforward solution to improve sound quality and create a more pleasant environment.
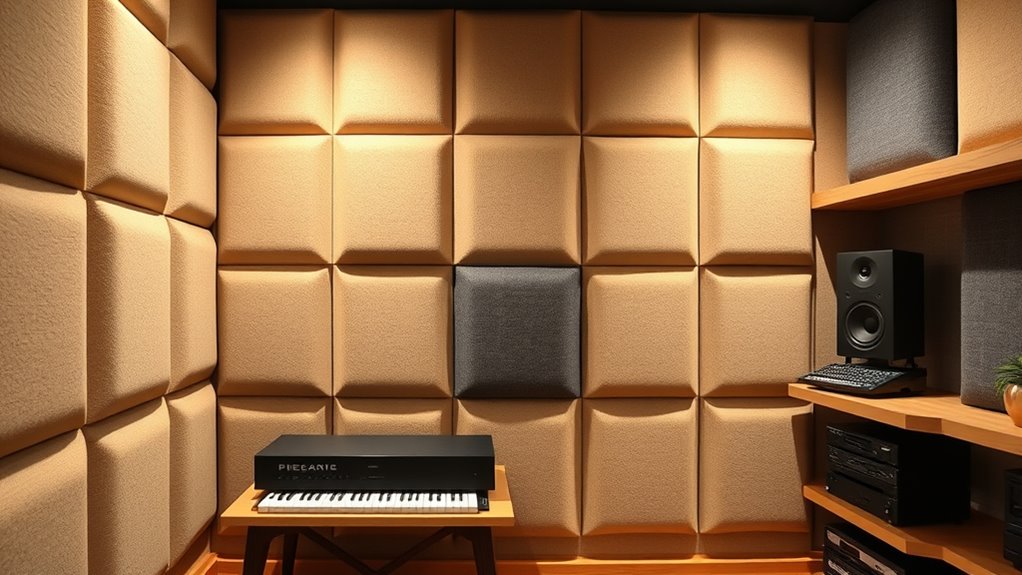
fabric-wrapped acoustic wall panels
As an affiliate, we earn on qualifying purchases.
As an affiliate, we earn on qualifying purchases.
Selecting the Right Type of Acoustic Panels
When choosing acoustic panels, you’ll want to contemplate both material options and how effective they are at absorbing sound. Aesthetic and design choices also matter, since you’ll want panels that blend well with your space. By balancing performance and style, you can select the perfect panels for your needs. Additionally, considering home organization principles can help you integrate panels seamlessly into your overall space management plan.
Material Options and Effectiveness
Choosing the right type of acoustic panels depends on the material’s ability to absorb sound effectively while fitting your space and aesthetic needs. Materials like foam, fabric-wrapped panels, and mineral wool each offer different levels of sound absorption and durability. Foam panels are affordable and lightweight but may not be as durable over time. Fabric-wrapped options tend to be more durable and easier to clean, though they can cost more. Mineral wool panels excel in sound absorption and longevity, making them a solid choice for demanding environments. When selecting, consider your budget and how long the panels need to last. Balancing material durability with cost considerations ensures you get effective sound treatment without overspending. Additionally, sound absorption efficiency varies depending on material choice, impacting the overall effectiveness of your acoustic treatment.
Aesthetic and Design Choices
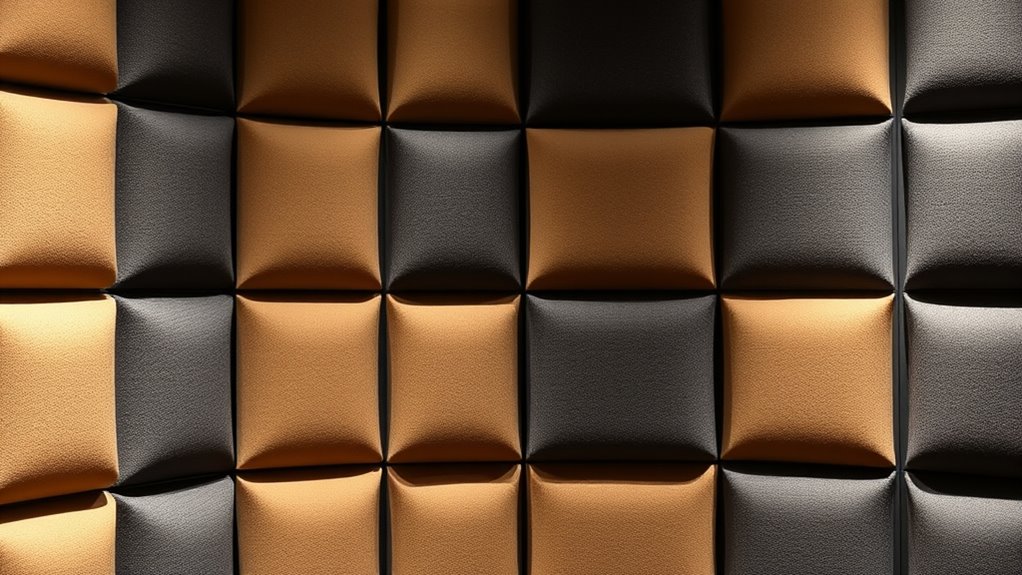
Selecting the right acoustic panels involves more than just their sound-absorbing capabilities; it also requires considering how they complement your space’s style. You want panels that blend seamlessly with your decor, so think about color coordination. Choose hues that match or contrast tastefully with your walls and furniture. Decorative patterns can add visual interest, turning functional panels into design features. Whether you prefer sleek, minimalist options or bold, artistic designs, there’s a wide variety to suit your aesthetic. Consider panels with textured surfaces or printed patterns that reflect your personality or theme. The goal is to enhance both sound quality and visual appeal, creating a cohesive look that makes your space inviting and stylish. Incorporating aesthetic and design choices such as textured surfaces or printed patterns can also elevate the overall ambiance of your room.
adhesive acoustic panel mounting kit
As an affiliate, we earn on qualifying purchases.
As an affiliate, we earn on qualifying purchases.
Determining the Optimal Placement for Panels

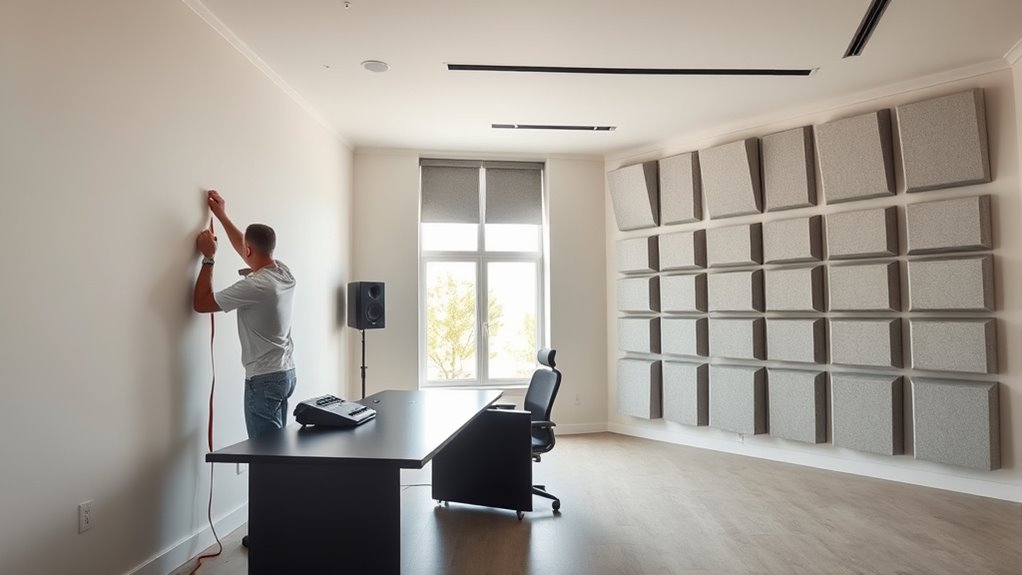
To achieve the best sound absorption, you need to carefully consider where to place your acoustic panels. Proper panel placement is essential for effective acoustic optimization. Focus on placing panels at primary reflection points, which are usually on the walls directly opposite or beside your sound source and listening area. Avoid placing panels in corners, unless you’re aiming to treat bass buildup, as this can distort sound. Position panels at ear level for ideal results, especially in recording or mixing spaces. Keep in mind that spreading panels evenly across the room helps prevent sound waves from bouncing around. Understanding acoustic treatment can help you make more informed decisions about panel placement. By strategically locating your panels, you’ll greatly improve sound clarity and reduce echo, ensuring your setup sounds professional and balanced.
sound absorbing foam panels
As an affiliate, we earn on qualifying purchases.
As an affiliate, we earn on qualifying purchases.
Measuring Your Space for Proper Panel Installation
Before installing acoustic panels, you need to measure your space accurately to guarantee proper placement. Proper measurements ensure effective sound absorption and noise reduction, making your setup more comfortable. To do this:
Measuring your space accurately ensures effective placement of acoustic panels for optimal sound absorption.
- Measure wall and ceiling dimensions to determine how many panels you’ll need.
- Identify reflective surfaces that bounce sound and plan panel placement accordingly.
- Note high-traffic areas where noise is most prominent for targeted sound absorption.
- Consider the organization of your space to optimize panel placement and achieve better acoustic results.
Accurate measurements help you avoid wasted panels and ensure maximum coverage. This step is essential for maximizing noise reduction and improving overall acoustics in your space. Remember, the goal is to position panels where they can absorb sound effectively, reducing echo and background noise for a clearer, more enjoyable environment.
Preparing Your Walls for Mounting

Before mounting your acoustic panels, make sure your wall is clear of any obstacles and debris. Repair any imperfections like holes or cracks to create a smooth surface. Then, measure and mark the spots accurately to guarantee proper placement. Consider the noise levels in your environment to choose the optimal locations for the panels.
Clear Wall Surface
Are your walls ready for mounting acoustic panels? A clear, smooth surface is essential for proper wall preparation. To guarantee the best results, consider these steps:
- Remove any dust, dirt, or grease that could interfere with adhesion.
- Check your paint selection; matte or eggshell finishes work best, while glossy paints can make mounting tricky.
- Make sure the wall surface is flat and free of bumps or rough patches for a seamless look and ideal sound absorption.
Taking these steps will create a clean, even surface that allows your acoustic panels to stick firmly and look professional. Proper wall preparation helps your setup look neat and ensures your panels perform at their best.
Repair Wall Imperfections
To guarantee your acoustic panels stay securely in place and look professional, you need to repair any wall imperfections such as cracks, holes, or uneven patches. Start with wall repair by filling cracks and holes using spackle or filler, then sanding them smooth for a seamless surface. Surface smoothing is essential to assure the wall is even, preventing panels from misaligning or falling. Take your time to sand down any bumps or rough spots, leaving a flat, clean surface ready for mounting. Proper wall repair and surface smoothing not only improve the appearance but also provide a solid foundation for your acoustic panels, enhancing their effectiveness and durability. Skipping this step can lead to uneven panels and compromised sound absorption. Additionally, understanding the importance of surface preparation can help you achieve a professional-looking and long-lasting installation.
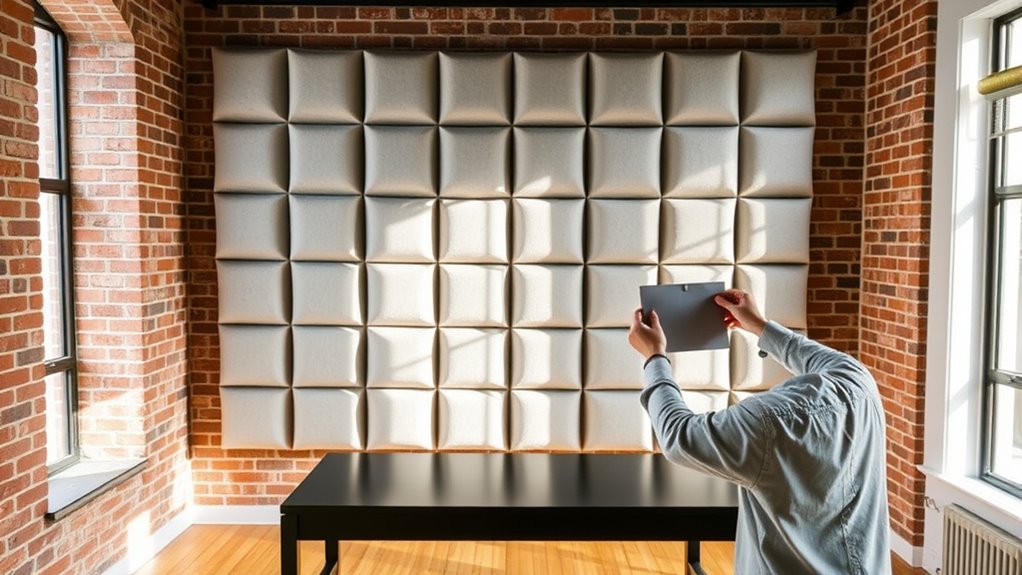
Measure and Mark Properly
Accurately measuring and marking your walls is essential to guarantee your acoustic panels are installed straight and level. Proper measurement ensures your acoustic foam and soundproof curtains stay aligned and effective. First, use a level to draw straight guidelines where you plan to mount the panels. Second, mark the spots with a pencil, considering the height and spacing for ideal sound absorption. Third, double-check your measurements before drilling or sticking. Keep in mind that precise markings prevent uneven installation, which can compromise soundproofing. Whether you’re mounting acoustic foam or securing soundproof curtains, take your time with measurements. This step ensures your setup looks professional and performs well, giving you a cleaner, more polished sound environment. Additionally, incorporating elements like decorative accents inspired by farmhouse style can help create a cozy, inviting space that complements your acoustic treatment.
Choosing the Appropriate Mounting Hardware
How do you guarantee your acoustic panels stay securely in place? Choosing the right mounting hardware is key. You can opt for sturdy mounting brackets for a strong hold, especially on drywall or wood. Alternatively, adhesive options like heavy-duty spray or double-sided tape work well for a cleaner look and easy removal. Consider the weight of your panels and your wall type to pick the best solution. Here’s a quick comparison:
| Hardware Type | Best For | Pros |
|---|---|---|
| Mounting brackets | Heavy panels, stud walls | Secure, durable |
| Adhesive options | Light panels, easy removal | No damage, tidy look |
| Hooks & Clips | Versatile, tool-free | Easy to reposition |
| Velcro Strips | Lightweight, flexible | Simple, removable |
Choose wisely to ensure your panels stay in place and look great. Proper mounting hardware is essential for long-term stability and safety.
Installing Acoustic Panels Step-by-Step
Before you start installing your acoustic panels, make sure your space is properly prepared by clearing the area and choosing the right wall surfaces. Next, follow the instructions carefully to securely attach the panels using the mounting hardware you’ve selected. Taking these steps guarantees a smooth installation process and effective sound treatment.
Preparing Your Space
To guarantee a smooth installation process, start by preparing your space thoroughly. Clear the area of furniture and clutter to make room for the panels. Ensure walls are clean and free of dust to help adhesive or mounting hardware stick properly. Consider adding decorative accents or artwork around the space to enhance visual appeal, making the area both functional and stylish. Also, evaluate your lighting enhancements—good lighting will help you position panels accurately and see your progress clearly.
Here’s a quick checklist:
- Clear the space and clean the walls
- Decide on aesthetic details like decorative accents
- Adjust lighting to improve visibility and precision
Proper preparation sets the stage for an efficient, professional-looking installation.
Securing the Panels
Once you’ve prepared your space, it’s time to securely attach the acoustic panels to your walls. Start by marking where you want each panel, then install mounting brackets accordingly. Use a level to verify the brackets are straight. For drywall or plaster walls, insert wall anchors before screwing in the brackets to provide extra support. If mounting on studs, you can screw directly into the wood. Attach the panels to the brackets, making sure they’re flush and secure. Double-check the stability by gently pressing on each panel. Properly secured panels won’t shift or fall, guaranteeing safety and ideal sound absorption. Take your time to confirm everything is level and firmly attached before moving on to the next step.
Tips for Achieving a Balanced Acoustic Environment

Achieving a balanced acoustic environment requires careful attention to the placement and type of acoustic treatments you use. Properly managing room acoustics involves strategic positioning and effective soundproofing techniques. Here are three tips to help you get it right:
- Optimize panel placement – Position panels at reflection points to absorb echoes and improve clarity.
- Use a variety of treatments – Combine bass traps, diffusers, and absorbers for a well-rounded sound profile.
- Control noise sources – Minimize external noise and avoid sound leaks to maintain a consistent acoustic environment.
Maintaining and Caring for Your Acoustic Panels

Proper maintenance is essential to keep your acoustic panels functioning effectively and looking their best over time. Regular cleaning routines help remove dust and dirt that can diminish sound absorption and aesthetic appeal. To guarantee long-term durability, avoid harsh chemicals; instead, use a soft brush or vacuum with a brush attachment. Here’s a simple guide:
| Task | Frequency | Tips |
|---|---|---|
| Dusting | Weekly | Use a microfiber cloth or vacuum |
| Spot Cleaning | As needed | Light damp cloth, gentle wipe |
| Deep Cleaning | Every 6-12 months | Professional cleaning if necessary |
Sticking to these routines prolongs your panels’ lifespan, maintains their appearance, and preserves their acoustic performance.
Enhancing Your Space With Additional Sound Treatments
To further improve your space’s acoustics, consider adding a variety of sound treatments beyond acoustic panels. These enhancements can boost soundproofing upgrades and optimize your room’s overall sound quality. Start with a room acoustic analysis to identify problem areas, then target those with specific solutions.
Here are three effective options:
- Bass traps – absorb low-frequency sound waves that cause muddiness.
- Diffusers – scatter sound evenly, preventing harsh echoes.
- Door and window seals – block external noise, improving soundproofing.
Frequently Asked Questions
Can Acoustic Panels Be Painted or Customized After Installation?
Yes, you can paint or customize acoustic panels after installation. For painting options, use fabric or spray paints designed for porous surfaces to avoid damaging the panels. Some customization tips include choosing colors that match your decor or adding patterns for a unique look. Just verify the paint is breathable and lightweight to maintain the panels’ acoustic effectiveness. Always test a small area first to see how the paint adheres.
How Do I Choose Panels Suitable for Different Room Styles?
To choose panels suitable for different room styles, consider your room’s acoustics and aesthetic integration. You’ll want panels that match or complement your decor, whether that’s modern, vintage, or minimalist. Look for options in colors, textures, or designs that blend seamlessly with your space. Prioritize acoustic performance, but don’t forget style—select panels that enhance your room’s overall look while improving sound quality.
Are There DIY Alternatives to Commercially Available Acoustic Panels?
Yes, you can explore DIY options for acoustic panels, making them a cost-effective solution. You might repurpose materials like thick blankets, foam, or fabric-covered panels, which absorb sound and improve acoustics. Building your own allows customization to fit your room’s style and budget. With some basic tools and creativity, DIY acoustic panels offer a practical alternative to commercial options, giving you effective sound treatment without overspending.
What Safety Precautions Should I Take During Installation?
When installing acoustic panels, prioritize installation safety by wearing gloves and safety goggles to protect your hands and eyes from sharp edges or dust. Follow handling precautions by carefully lifting and securing panels to avoid dropping them and causing injury. Make certain your workspace is clear of obstacles, and use sturdy ladders or supports for high placements. Taking these steps minimizes risks and guarantees a safe, successful installation process.
How Often Should I Replace or Upgrade My Acoustic Panels?
Think of your acoustic panels as the steady guardians of your sound space. You should inspect them annually for dust, damage, or loss of effectiveness. Typically, panel maintenance involves cleaning or replacing panels every 3-5 years, but this depends on usage and environment. Upgrading frequency varies based on your evolving needs; when your sound quality no longer meets your standards, it’s time for an upgrade to keep your space sounding its best.
Conclusion
Adding acoustic panels is like tuning a musical instrument—you shape your space to produce perfect sound. With the right panels, placement, and care, you’ll transform your environment into a harmonious haven. Think of it as crafting a cozy concert hall within your room, where every note resonates just right. So, take your time, follow these steps, and enjoy the symphony of clear, balanced sound that you’ve created. Your ideal acoustic space is within reach!