Lens aperture controls how much light enters your camera by adjusting the size of the opening. A wider aperture (smaller f-number) lets in more light, brightening your image and helping in low-light conditions. A narrower aperture (larger f-number) reduces light, making your photo darker and increasing depth of field. Understanding how to balance aperture with shutter speed and ISO is key to perfect exposure. Keep exploring to master these settings and improve your photography results.
Key Takeaways
- The aperture controls the amount of light entering the lens by adjusting its size, affecting exposure brightness.
- Wider apertures (small f-numbers) allow more light, ideal for low-light conditions or artistic blur effects.
- Narrower apertures (large f-numbers) restrict light, resulting in darker images and increased depth of field.
- Proper aperture maintenance ensures consistent light control, sharpness, and prevents lens distortion at wide settings.
- Aperture choices influence light control, depth of field, and creative effects like bokeh, shaping overall image quality.
How Aperture Affects Exposure and Brightness
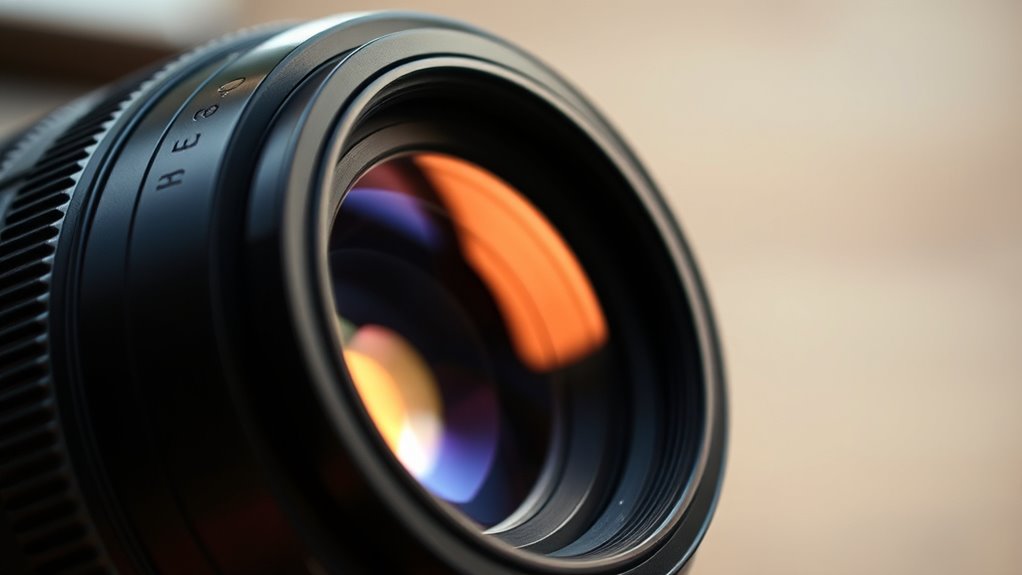
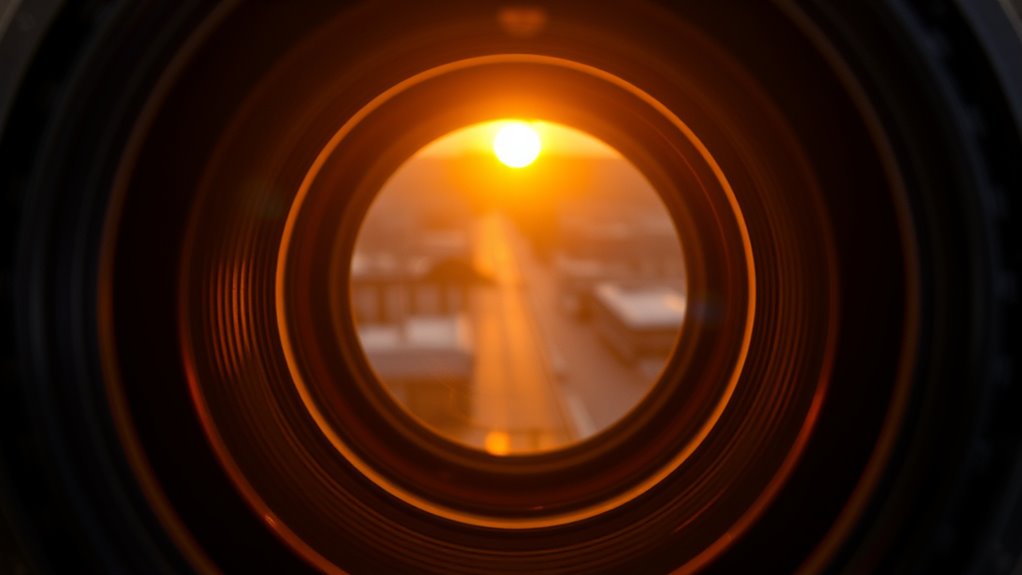
Aperture plays a crucial role in determining how much light reaches your camera sensor, directly influencing exposure and brightness. When you adjust the aperture, you control the size of the opening inside your lens, which affects how much light enters. A wider aperture (smaller f-number) allows more light, making images brighter, while a narrower one (larger f-number) reduces light, resulting in darker pictures. Proper aperture maintenance is essential to prevent issues like lens distortion, which can distort your image edges, especially at wide apertures. Keeping your lens clean and ensuring smooth aperture blades help maintain consistent exposure and sharpness. Additionally, understanding the role of aperture in light control helps you achieve desired artistic effects and proper exposure settings. By understanding how aperture impacts exposure, you can better control your photos’ brightness and overall quality.
Understanding the Aperture Scale: F-Stops Explained
Have you ever wondered how photographers precisely control the size of the lens opening? It’s through the aperture scale, measured in f-stops. Each f-stop number represents a specific ratio of focal length to aperture diameter, controlling how much light enters. Smaller f-stop numbers, like f/2.8, mean a wider opening, letting in more light, while larger ones, like f/16, reduce light intake. Lens coatings help minimize flare and improve contrast, ensuring sharp images across different apertures. The aperture blades form the opening, adjusting smoothly to create the desired f-stop. Understanding this scale allows you to balance brightness and image quality, making your shots clearer and more precise. Mastering f-stops is key to controlling exposure and achieving the desired photographic effect. Additionally, light control in projectors involves managing the contrast ratio to enhance image depth and clarity.
The Impact of Aperture on Depth of Field

By adjusting the aperture, you directly influence the depth of field in your images. A wider aperture (small f-stop number) creates a shallow depth of field, making your subject stand out sharply against a softly blurred background. This background blur enhances bokeh effects, giving your photos a pleasing, artistic quality. Conversely, a narrower aperture (large f-stop number) increases the depth of field, keeping both foreground and background elements in focus. This is ideal for landscape shots where clarity throughout the scene is essential. Your choice of aperture directly affects how much of the scene is sharp versus blurred, shaping the mood and focus of your image. Understanding this impact helps you control background blur and bokeh effects, leading to more intentional and compelling photographs. Additionally, mastering aperture settings can help you better capture current events by adjusting the focus and background blurring to highlight specific subjects effectively.
Selecting the Right Aperture for Different Shooting Conditions
Choosing the right aperture depends on the lighting and your desired depth of field. For bright conditions and sharp backgrounds, use a smaller aperture; for low light or fast-moving subjects, open it up. Understanding how aperture affects brightness and motion will help you capture better shots in any situation. Additionally, considering the environmental conditions can influence your aperture choice to ensure optimal exposure and focus.
Brightness and Depth of Field
Ever wondered how to balance brightness and focus in your photos? It’s all about choosing the right aperture. A wide aperture (small f-number) lets in more light, brightening your shot and creating a shallow depth of field. This isolates your subject and produces beautiful bokeh effects, with soft, out-of-focus backgrounds. However, a wide aperture can also cause lens flare if shooting toward strong light sources. Conversely, a narrower aperture (large f-number) reduces light, darkening your image but increasing depth of field, keeping more of your scene in focus. This helps when you want everything sharp, from foreground to background. Adjusting aperture carefully allows you to control brightness and depth of field, resulting in images that highlight your subject while minimizing unwanted lens flare or distracting backgrounds. Understanding the key components of sound design can also enhance the overall quality of your visual storytelling by integrating appropriate audio elements.
Low Light and Fast Shots
When shooting in low light or capturing fast-moving subjects, selecting the right aperture becomes even more important. A wider aperture allows more light to enter, helping you avoid grainy images and blur. However, be mindful of lens flare, which can occur with bright light sources, reducing contrast or creating unwanted artifacts. For fast shots, a mid-range aperture balances light intake and depth of field, ensuring sharp focus while maintaining clarity. If you want to enhance your background, open the aperture wide to produce beautiful bokeh effects, softening distracting elements behind your subject. Conversely, stopping down slightly can improve overall sharpness and reduce lens flare. Adjusting your aperture thoughtfully helps you adapt to varying lighting conditions, ensuring your fast shots stay clear and well-exposed.
How to Control Light With Aperture in Low-Light Situations
In low-light situations, adjusting your aperture is a crucial way to let in more light and achieve a well-exposed shot. Open your aperture wider to allow more light to reach the sensor, which helps brighten your image. Modern lenses with high-quality lens coatings reduce reflections and glare, maximizing light transmission through the aperture. Keep in mind that the shape and number of aperture blades influence the quality of your bokeh and overall image sharpness. A lens with more blades creates a smoother, more pleasing background blur, especially in dim conditions. By controlling aperture size, along with using lenses equipped with effective coatings and well-designed aperture blades, you can improve your low-light photography markedly. Additionally, understanding how engaging narratives are crafted in visual storytelling can help you better compose and communicate your images in challenging lighting.
Combining Aperture With Shutter Speed and ISO for Perfect Shots
To get the perfect shot, you need to balance your aperture, shutter speed, and ISO settings effectively. Adjusting these elements lets you control exposure, create a specific depth of field, and adapt to different lighting conditions. Mastering this combination helps you capture images that are both well-exposed and creatively compelling. Understanding how resources and tools influence your settings can further enhance your photographic results.
Balancing Exposure Settings
Balancing exposure settings is essential for capturing well-exposed photos, and it requires a careful combination of aperture, shutter speed, and ISO. When adjusting these, consider how lens distortion can affect image quality, especially at extreme settings. A wider aperture lets in more light but can introduce distortion in some lenses, so find a balance that maintains sharpness. Shutter speed controls motion blur but also influences exposure; faster speeds freeze action, while slower speeds let in more light. ISO increases sensor sensitivity but can add noise. Good camera ergonomics help you make quick, precise adjustments, preventing overexposure or underexposure. Additionally, understanding the impact of lens tuning on image quality can help you optimize your gear settings for better results. By thoughtfully balancing these elements, you optimize light control, ensuring your shots are clear, detailed, and accurately exposed.
Creative Depth of Field
Have you ever wondered how to create stunning photos with a beautiful sense of depth? Achieving a creative depth of field involves expertly using your lens aperture, shutter speed, and ISO. When you open up your aperture wide, you get a shallow depth of field that blurs the background, enhancing bokeh effects and drawing focus to your subject. This also heightens the chance of capturing lens flare, adding artistic flair. Conversely, narrowing the aperture increases sharpness across the scene, giving a different creative feel. Combining these settings allows you to control how much of your image is in focus, shaping the overall mood and depth. Mastering this interplay results in mesmerizing images with layered, three-dimensional qualities that truly stand out. Understanding how aperture impacts depth of field is essential for developing your photographic style.
Adjusting for Lighting Conditions
Understanding how to adjust your camera settings for different lighting conditions is vital to capturing perfect shots. When lighting is bright, you can narrow your aperture to prevent lens flare and overexposure, while using faster shutter speeds to freeze motion. In low-light situations, widening your aperture allows more light in, creating beautiful bokeh effects in the background. Balancing ISO is essential; increasing it helps brighten images but can introduce noise. Combining these settings ensures proper exposure without sacrificing image quality. For instance, a wide aperture with a slow shutter speed can create dreamy backgrounds, while a narrower aperture reduces lens flare in harsh sunlight. Mastering these adjustments helps you adapt quickly and achieve well-exposed, sharp photos regardless of lighting conditions. Additionally, understanding content relevance and how it influences your camera settings can further enhance your photographic results.
Practical Tips for Mastering Aperture Settings
Mastering aperture settings begins with experimenting to see how different openings affect your photos. Try adjusting your lens to wide-open and narrow apertures to observe the changes. Wide apertures create a shallow depth of field, producing beautiful bokeh effects that make your subject stand out. They also increase the chance of lens flare when shooting toward bright light sources, so use this creatively or adjust accordingly. Narrow apertures increase depth of field, keeping more of the scene sharp. Practice switching between these settings to understand their impact. Pay attention to how aperture influences light control and image quality. With consistent experimentation, you’ll intuitively select the right aperture for any scene, mastering light, lens flare, and bokeh effects with confidence.
Frequently Asked Questions
How Does Aperture Influence Bokeh Quality in Photos?
Aperture directly influences bokeh quality by controlling the background blur and aesthetic softness in your photos. When you use a wider aperture, like f/1.4 or f/2.8, you create a more pronounced background blur, making your subject stand out sharply. Smaller apertures produce less blur and softer backgrounds. So, adjusting your aperture helps you achieve the desired level of background softness and enhances the overall aesthetic of your image.
Can Aperture Settings Affect Lens Sharpness and Image Quality?
Yes, your aperture settings can impact lens sharpness and overall image quality. Using a wide aperture creates a shallow depth of field, which can soften the image edges and introduce diffraction effects at smaller f-stops. Conversely, narrower apertures generally enhance sharpness across the frame but may reduce brightness. You should experiment with different settings to find the most suitable balance between depth of field, sharpness, and minimizing diffraction effects for your shot.
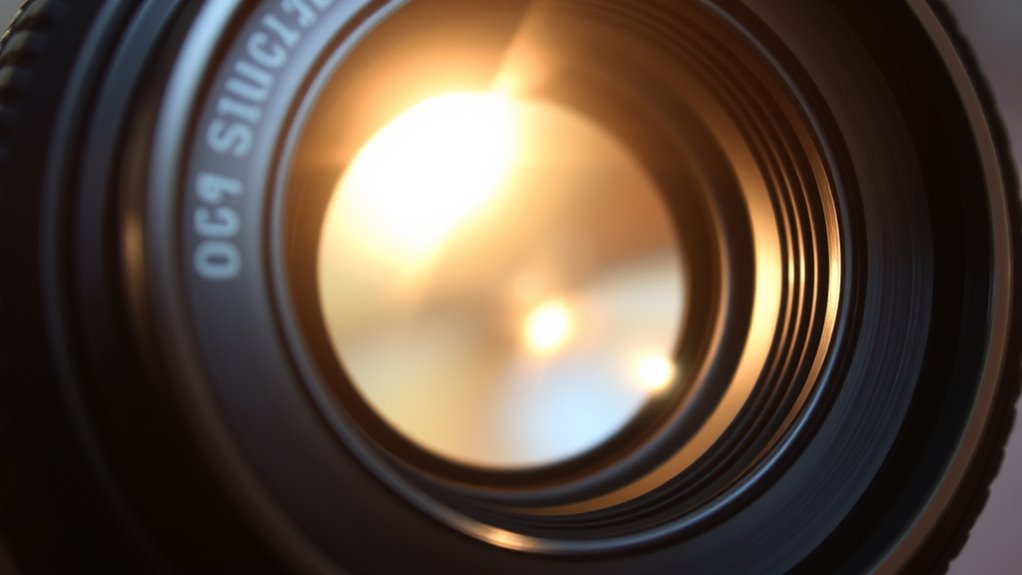
What Is the Relationship Between Aperture and Lens Flare?
When you adjust your aperture, it influences lens flare by affecting the aperture shape and light diffraction. A wider aperture allows more light in, increasing the chance of flare from bright light sources. The shape of the aperture blades creates specific flare patterns, and light diffraction around the blades can soften or distort the flare. Smaller apertures reduce flare, but too small can cause diffraction, lowering overall image sharpness.
How Do Different Lens Designs Impact Aperture Performance?
Different lens designs markedly impact aperture performance through lens construction and the number of aperture blades. A well-constructed lens with high-quality materials ensures smooth aperture adjustments and minimal optical defects. More aperture blades create a rounder, softer bokeh, while fewer blades can produce a more polygonal appearance. The arrangement and shape of these blades influence how effectively the lens controls light, impacting exposure, sharpness, and overall image quality.
Is There an Optimal Aperture for Maximizing Lens Lifespan?
Think of your lens as a vital heartbeat; the ideal aperture for longevity is often around f/8 to f/11. This range minimizes strain, reducing wear on your lens components. Regular lens maintenance, including gentle aperture cleaning, prevents dust buildup that can affect performance. Avoid constantly operating at extreme apertures, as this accelerates wear. By caring for your lens and using moderate apertures, you extend its lifespan and preserve image quality.
Conclusion
Mastering aperture is key to controlling light and achieving stunning photos. Did you know that opening your aperture by one stop doubles the amount of light hitting your sensor? By understanding how to adjust your aperture based on conditions, you can capture brighter images in low light or create beautiful depth of field. Keep experimenting with different settings to unfasten your camera’s full potential and take your photography to the next level.