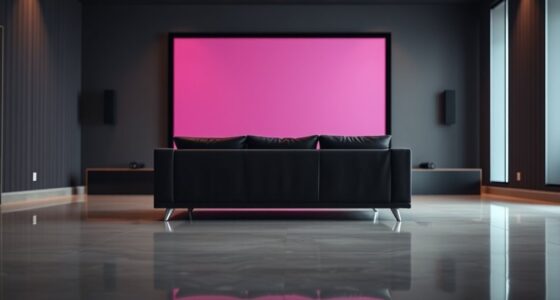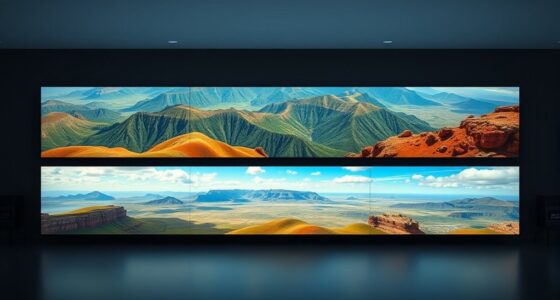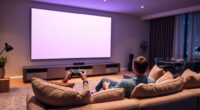
Front projection projects light directly onto a screen from in front, making it ideal for well-lit spaces and larger screens, while rear projection displays images from behind, reducing glare and reflections for sharper visuals. Front setups are easier for portable use but require space in front of the screen, whereas rear setups are more space-efficient but need an enclosed area. To discover which method best fits your environment, explore how each works and their advantages.
Key Takeaways
- Front projection projects images onto a screen from the front, while rear projection displays images from behind the screen.
- Rear projection reduces glare and reflections, offering clearer visuals in brightly lit environments compared to front projection.
- Front projection requires space in front of the screen for setup, whereas rear projection installs projectors behind the screen.
- Rear projection often involves specialized screens and is more space-efficient, suitable for high-traffic or public areas.
- Front projection is more flexible and portable, ideal for temporary setups, while rear projection provides higher image quality in fixed installations.

TOWOND Projector Screen and Stand, 150 inch Indoor Outdoor Projection Screen, Portable 16:9 4K HD Rear Front Movie Screen with Carry Bag Wrinkle-Free Design for Home Theater Backyard Cinema
Projector Screen with Stand. 150-inch diagonal, 160°wide viewing angle, aspect ratio 1:1 and 16:9 4k HD portable projector…
As an affiliate, we earn on qualifying purchases.
As an affiliate, we earn on qualifying purchases.
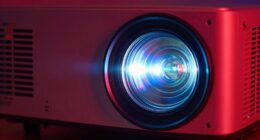
How Front Projection Works
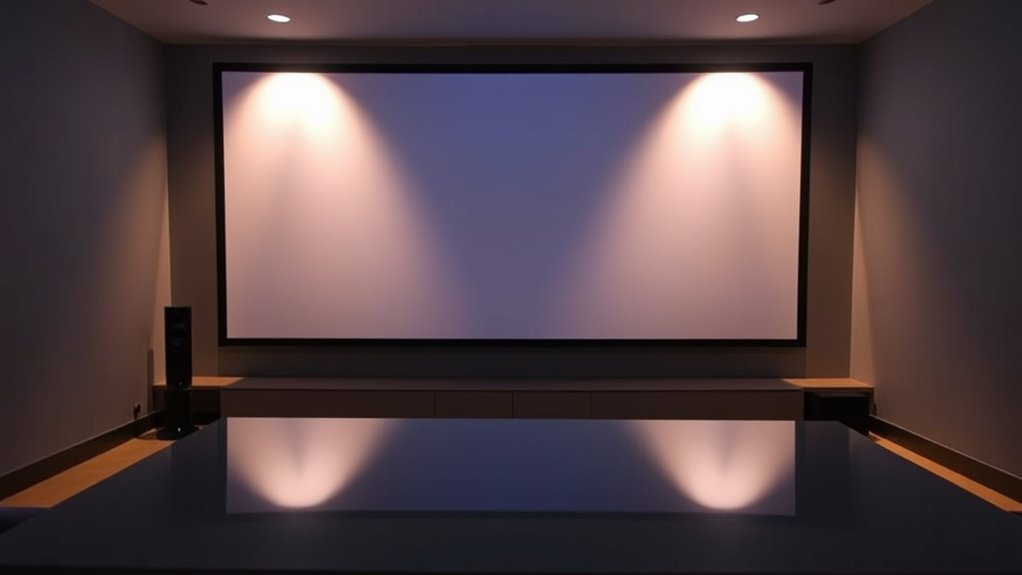
Have you ever wondered how front projection displays images? It works by projecting light directly onto a screen from a projector positioned in front of it. To achieve a clear image, understanding projection angles is key; the projector needs to be aligned properly to avoid distortion or shadows. Different lens types, such as wide-angle or zoom lenses, help control the image size and focus. Wide-angle lenses are great for larger rooms, while zoom lenses allow flexibility in positioning. The projector’s lens type influences how the image is projected and how much adjustment is needed. Proper calibration of projection angles combined with the right lens ensures sharp, bright images, making front projection an effective display method for various environments. Additionally, understanding how automation technologies are integrated can help optimize setup and maintenance processes.

120inch Outdoor Projector Screen with Stand: 16:9 4K HD Portable Projector Screen Outdoor Indoor – Front/Rear Movie Screen with Carry Bag, Sandbag – Projection Screen for Backyard, Camping, Theater
Unshakably Stable Base and Support: This projection screen features a sturdy base and support—extended and reinforced—effectively addressing instability…
As an affiliate, we earn on qualifying purchases.
As an affiliate, we earn on qualifying purchases.
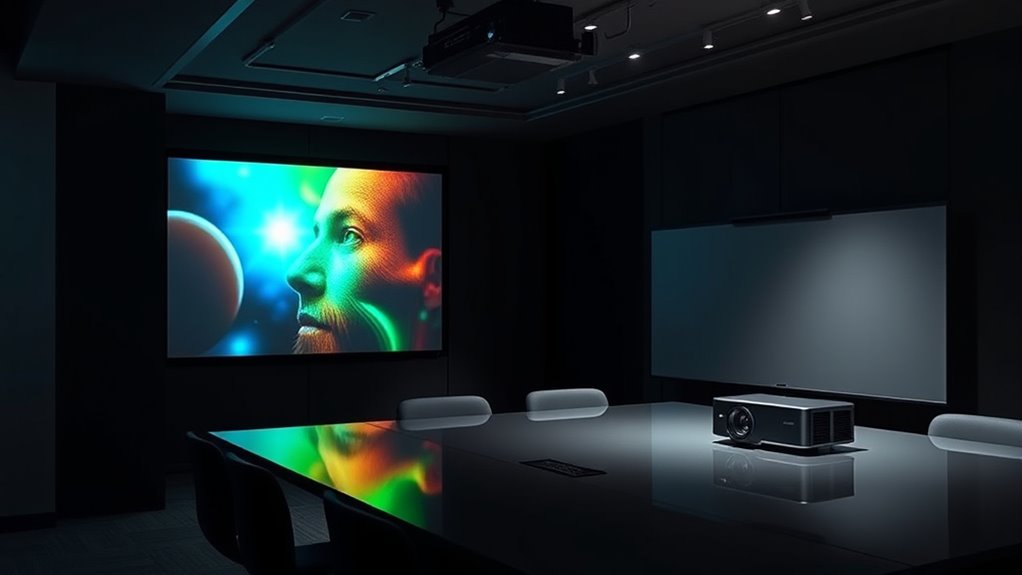
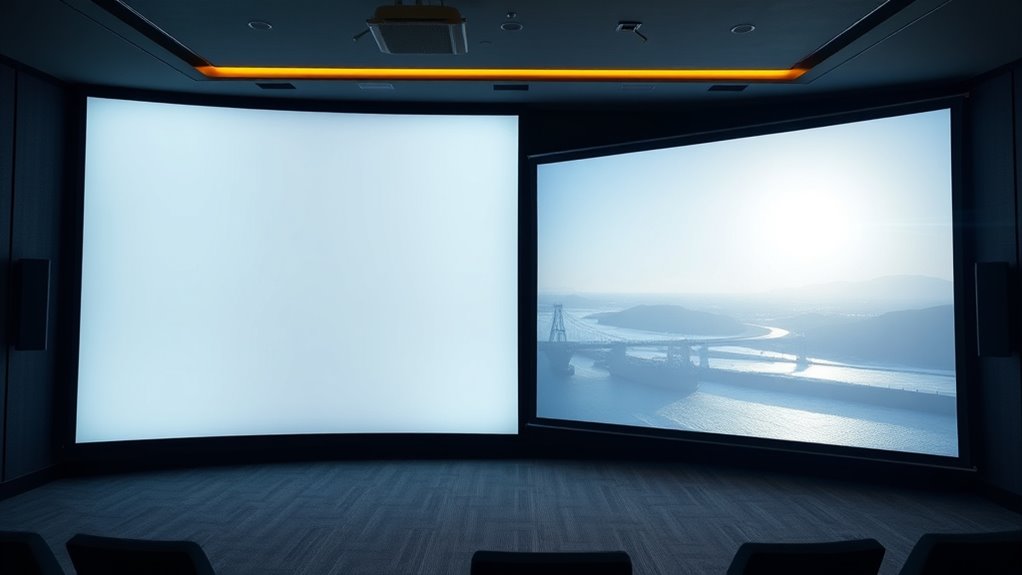
How Rear Projection Operates
Ever wondered how rear projection displays images? It uses projection technology where light is cast onto a screen from behind, allowing you to view the image from the front. This setup minimizes image distortion and glare, creating a clear picture even in bright environments. The projector’s placement behind the screen means the image is less affected by external light, but it requires precise calibration to avoid distortion. Here’s a quick look at how it works:
| Component | Function |
|---|---|
| Projector | Sends light through the lens onto the screen |
| Rear Screen | Diffuses light, displays the image clearly |
| Light Path | Travels from projector to the screen seamlessly |
| Image Quality | Maintains sharpness with minimal distortion |
This setup ensures your visuals stay clear and vibrant, leveraging projection technology efficiently. Understanding the projection setup can help you optimize your display for various environments.
120inch Outdoor Projector Screen with Stand: 16:9 4K HD Portable Projector Screen Outdoor Indoor – Front/Rear Movie Screen with Carry Bag, Sandbag – Projection Screen for Backyard, Camping, Theater
Unshakably Stable Base and Support: This projection screen features a sturdy base and support—extended and reinforced—effectively addressing instability…
As an affiliate, we earn on qualifying purchases.
As an affiliate, we earn on qualifying purchases.
Space Requirements and Setup
When setting up a projection system, you’ll need to take into account the space required for the projector and screen. Make sure there’s enough wall or ceiling clearance to avoid obstructions and ensure proper image quality. Additionally, assess your room size to determine if it can comfortably accommodate the equipment and viewing area. Considering projector placement options can help optimize image clarity and reduce potential setup issues.
Space Needed for Setup
Setting up a front or rear projection system requires careful consideration of the space available. You need enough room to accommodate the projection distance, screen size, and projector placement, which varies depending on your setup. Front projection typically needs a clear area in front of the screen, while rear projection requires space behind the screen for the projector. When planning, consider the space for projection accessories like mounts and screens, guaranteeing they fit comfortably within your environment. Proper installation techniques also help optimize image quality and prevent shadows or obstructions. Measure your space carefully and select equipment suited to your available area. By doing so, you ensure a clean, efficient setup that maximizes your projection system’s performance and visual impact. Additionally, understanding setup requirements can help prevent common issues and ensure safety during installation.
Wall and Ceiling Clearance
Ensuring adequate wall and ceiling clearance is essential for a successful projection setup, as it directly affects both image quality and safety. You need enough space to prevent shadows and ensure proper lighting techniques, which enhance picture clarity. Adequate clearance also allows for ideal placement of the projector and screen, minimizing obstructions. When planning your setup, consider how lighting and sound equipment will be integrated; cluttered or tight areas can hinder audio integration and cause distracting reflections or glare. Proper clearance helps maintain a clean, unobstructed view, reducing the risk of accidents or damage. Measure the room carefully, accounting for the projector’s throw distance and the height of the ceiling, to ensure everything fits comfortably without compromising your desired image quality or safety standards. Additionally, understanding space requirements is crucial for optimizing the overall viewing experience and ensuring your equipment operates safely and efficiently.
Room Size Considerations
Choosing the right room size is essential for ideal projection quality and an immersive viewing experience. You need enough space for proper wall placement, ensuring the projector can be positioned correctly without distortion. Consider the ceiling height, as it impacts where you can mount the projector and how large the screen can be. A taller ceiling allows for a bigger screen and better sightlines, while a lower ceiling may limit size and placement options. Make sure the room isn’t too cramped, which can cause shadows or glare, or too large, which might dilute the image’s impact. Properly planning wall placement and ceiling height guarantees your projector delivers maximum brightness, contrast, and clarity, creating a seamless, cinematic experience at home. Additionally, understanding room dimensions helps optimize viewing angles and overall comfort during extended viewing sessions.
Rear Projector Film Adhesive Holographic Projection Film for Home Cinema and Office Presentation, Clear with a Little Grey, 8.3"x11.7"
⭐HOLOGRAM TECHNOLOGY – The transparent holographic projection film has a unique transparency that allows the viewer to see…
As an affiliate, we earn on qualifying purchases.
As an affiliate, we earn on qualifying purchases.
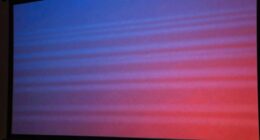
Image Brightness and Visibility
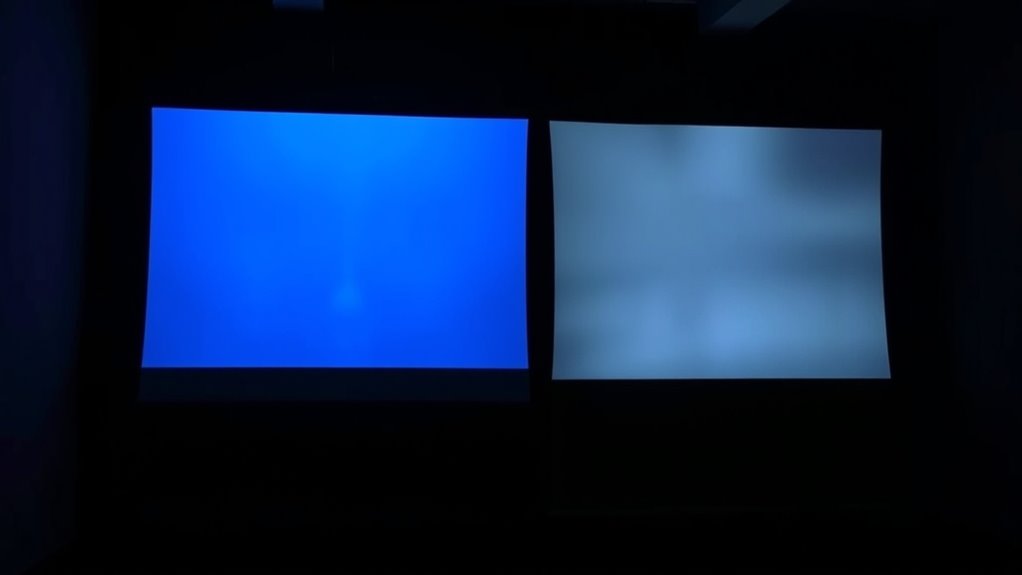
When it comes to image brightness and visibility, front and rear projection setups each have distinct advantages and challenges. Front projection often provides brighter images because the projector is directly facing the screen, but ambient light can diminish visibility. Rear projection, with the projector placed behind the screen, reduces glare and improves contrast, especially in well-lit environments. Your screen resolution also affects clarity—the higher the resolution, the sharper the image. Proper projector placement is essential; for bright images, place the projector at an ideal distance to avoid dimness. Here’s a quick comparison:
| Aspect | Front Projection | Rear Projection | Best Use Case |
|---|---|---|---|
| Brightness | Generally brighter, but affected by ambient light | Usually less bright but better in lit rooms | Small to medium rooms |
| Visibility | Can be hindered by glare and reflections | Clearer in bright environments | Large, well-lit spaces |
| Screen Resolution | Critical for sharp images | Equally important | High-detail presentations |
| Projector Placement | In front of screen, facing viewer | Behind screen, out of sight | Space constraints |
| Ambient Light Impact | Significant | Less impact | Dynamic environments |
Additionally, advancements in projection technology continue to enhance image quality and visibility across various setups.
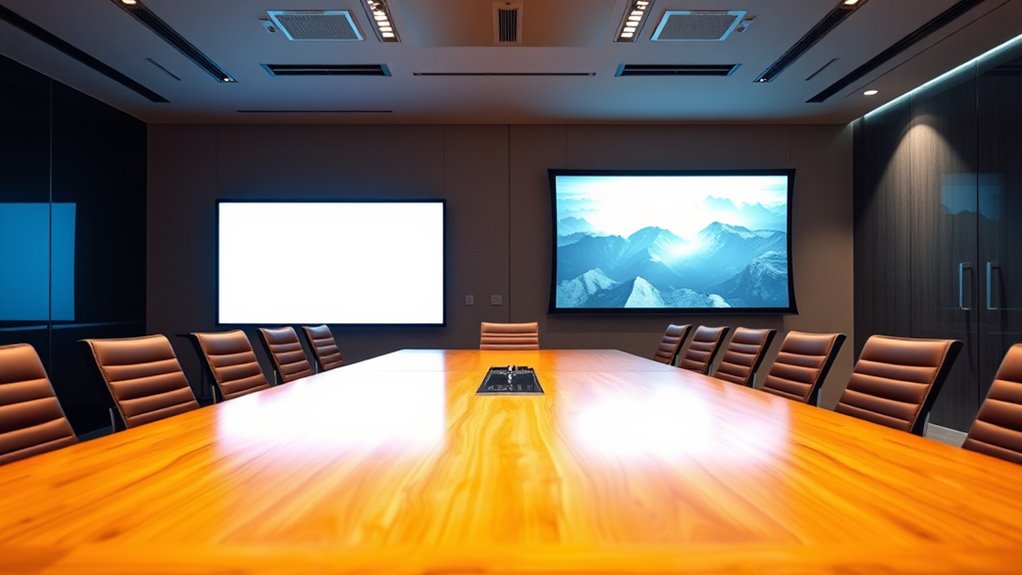
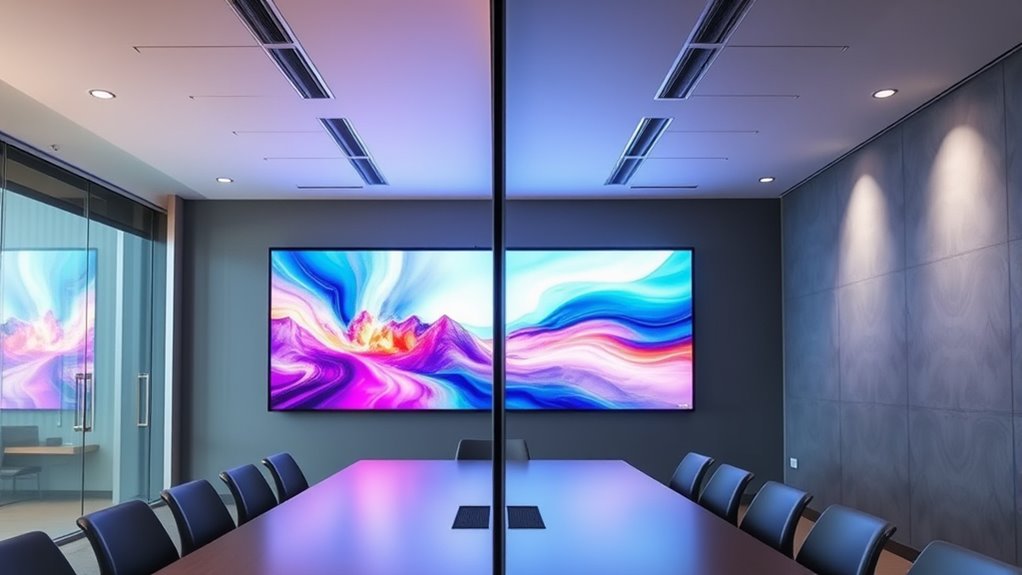
Screen Types and Materials
The type of screen you choose considerably impacts the quality of your projected image, as different materials reflect light in unique ways. Your selection of screen materials affects brightness, contrast, and color accuracy, making it essential to pick the right projection surface. Common options include matte white surfaces, which offer broad light diffusion, and high-gain screens that enhance brightness but may cause hotspots. Gray screens improve contrast in brighter environments by reducing ambient light interference. Specialty projection surfaces, like glass or textured materials, serve specific needs but are less common. Consider your room’s lighting conditions and the projector’s capabilities when selecting a screen type. The right choice guarantees your images are sharp, vibrant, and free of distortions, creating a more immersive viewing experience. Additionally, understanding AI in Business can help optimize the selection process through predictive analytics and tailored recommendations.
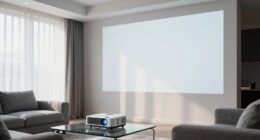
Advantages of Front Projection
Front projection offers several key advantages that make it a popular choice for many home theaters and presentations. One major benefit is its excellent projection quality, which can produce crisp, vibrant images even in well-lit rooms. This setup allows for a large display size without needing a bulky screen or heavy equipment. Additionally, the installation complexity is relatively straightforward compared to other projection methods. You can position the projector easily on a table or mount it on the ceiling, making setup flexible. Because the projector is placed in front of the screen, you don’t need to worry about obstructing the image. Overall, front projection provides high-quality visuals with simpler installation, making it an appealing option for those seeking an immersive viewing experience. Proper essential oil application can also enhance the overall ambiance of your viewing area.
Benefits of Rear Projection
Rear projection offers several distinct benefits that make it an attractive option for various settings. One key advantage is its use of advanced projection technology, which often results in clearer, more vibrant images. Because the projection occurs behind the screen, you can enjoy higher image resolution without concerns about external light interference. This setup minimizes glare and reflections, providing a cleaner viewing experience. Additionally, rear projection screens are generally more durable and less prone to damage, making them suitable for high-traffic environments. You also gain flexibility in room design since the projector can be tucked away out of sight, saving space and reducing clutter. Furthermore, image quality improvements in rear projection systems enhance the overall viewing experience. Overall, rear projection’s combination of improved image resolution and practical setup benefits makes it a smart choice for many applications.
Common Limitations and Challenges
Both front and rear projection setups come with their own limitations that you should consider. Space requirements and setup complexity can affect where and how you install the system, while ambient light sensitivity may impact image visibility. Additionally, achieving ideal brightness and clarity can be challenging, especially in less controlled environments.
Space Requirements and Setup
Setting up a projection system requires careful attention to space, as both front and rear projection setups have specific requirements that can pose challenges. Proper screen placement is vital to guarantee clear images and avoid distortions. For front projection, you need enough distance between the projector and the screen to achieve ideal image size and focus, which can demand a large, unobstructed area. Rear projection, on the other hand, requires a dedicated, enclosed space behind the screen to house the projector, limiting available room. Projector alignment is essential in both setups to prevent keystone distortion and guarantee sharp images. Adequate space for ventilation and maintenance also influences setup. Recognizing these spatial limitations helps you plan effectively, making your projection more efficient and visually appealing.
Ambient Light Sensitivity
Ambient light can substantially impact the picture quality of projection systems, often posing a challenge to achieving clear, vibrant images. High ambient light levels reduce contrast and make images appear washed out. This issue affects both front and rear projection, but your projector placement plays a crucial role in managing light sensitivity. Proper placement minimizes exposure to direct light sources, enhancing picture clarity. Consider the table below, which shows how different ambient light conditions influence projector performance:
| Ambient Light Level | Effect on Projection | Recommended Action |
|---|---|---|
| Bright sunlight | Significant glare, washed-out images | Use darker rooms or additional shading |
| Moderate lighting | Reduced contrast, less vibrancy | Adjust placement, add curtains |
| Low ambient light | Optimal visibility | Maximize brightness, minimal adjustments |
Image Brightness and Clarity
Despite advances in projector technology, achieving consistent image brightness and clarity remains a common challenge. Brightness can fluctuate depending on the projector’s placement, screen type, and ambient light, affecting overall image quality. Color accuracy is essential for vivid, true-to-life visuals but can be compromised if the projector’s settings aren’t optimized. Rear projection often offers better brightness in well-lit environments, but front projection can struggle without proper adjustments. Sound integration also impacts clarity, as poor audio can distract from visual details, reducing overall effectiveness. Ensuring proper calibration helps enhance both color accuracy and image sharpness. To get the best results, you need to fine-tune your setup regularly, balancing brightness, clarity, and sound, so your projection remains vivid, accurate, and engaging.
Ideal Use Cases for Each Method

Front projection works best in environments where you need a portable or easily adjustable display, such as conference rooms, classrooms, or small event spaces. Its flexibility allows you to quickly set up and move the display as needed. This makes it ideal for situations where you require frequent repositioning or temporary use. Because of its reliance on projection technology, front projection systems typically have lower installation costs, making them more budget-friendly for short-term or temporary setups. You should consider front projection if you need a lightweight, adaptable solution that can be easily stored or relocated. It’s perfect for presentations, lectures, or meetings where ease of setup and mobility are priorities. Overall, front projection offers convenience and affordability for dynamic, versatile environments.
Factors to Consider When Choosing a Projection System
When choosing a projection system, you need to take into account several key factors to guarantee it meets your specific needs. First, consider the projection quality; clear, sharp images are vital for effective viewing. Look at resolution and brightness levels to match your environment’s lighting conditions. Additionally, evaluate installation complexity; some systems require extensive setup, while others are more straightforward. Rear projection setups often involve more complex installation due to the need for a dedicated space and specialized screens, whereas front projection can be simpler but may need adjustments for ideal image quality. Think about your space, budget, and technical expertise. Balancing projection quality with installation ease helps you select a system that provides the best visual experience without unnecessary hassle.
Frequently Asked Questions
Which Projection Method Offers Better Image Quality in Daylight Environments?
In daylight environments, rear projection offers better image quality because it handles ambient light more effectively. You’ll notice brighter images with less glare, thanks to higher projection brightness that minimizes the impact of ambient light. Front projection struggles with ambient light, causing washed-out images. So, if you need clear visuals in bright settings, rear projection is your best choice, ensuring vivid, sharp images even in well-lit spaces.
How Does Ambient Light Affect the Performance of Front Versus Rear Projection?
Ambient light considerably impacts both front and rear projection performance, mainly by reducing projection contrast. In bright environments, rear projection often performs better because its screen is less exposed to ambient light, maintaining higher contrast. Front projection can struggle with glare and washed-out images in ambient light, but using high-contrast screens and brighter projectors can help. Overall, minimizing ambient light enhances image quality regardless of the projection method.
Can Both Projection Methods Be Used Outdoors Effectively?
You can use both projection methods outdoors, but front projection faces challenges with outdoor visibility and weather resistance, requiring a shaded, protected setup. Rear projection, on the other hand, offers better outdoor visibility and weather resistance, making it more suitable in various weather conditions. Both need proper equipment, protection from elements, and controlled lighting to make certain of clear images. So, choose based on your environment and outdoor display needs.
What Are the Long-Term Maintenance Differences Between Front and Rear Projections?
You’ll find that front projection requires more frequent bulb replacements due to higher exposure to dust and external elements, which can shorten bulb life. Rear projection screens tend to be more durable and protected from environmental factors, leading to less maintenance. Over time, rear projection systems typically need less upkeep, especially regarding screen durability and bulb changes, making them a better choice for long-term use with minimal maintenance.
Are There Specific Content Types Better Suited for Front or Rear Projection?
Perfectly suited for specific screens, front projection excels with vibrant videos and vivid visuals, thanks to its easier content compatibility. Rear projection works better for static slides or simple graphics, offering a sleek, seamless setup. When considering installation considerations, choose front projection for flexible, portable setups, and rear projection for permanent, polished displays. Both types serve different content needs, making your choice clear based on your visual, venue, and viewing requirements.
Conclusion
Choosing between front and rear projection depends on your space, visibility needs, and setup preferences. For example, in a museum exhibit, rear projection allows visitors to view the display clearly without glare or shadows, creating an immersive experience. By understanding each method’s strengths and limitations, you can select the best option for your environment—whether for a home theater, classroom, or large event—ensuring your visuals are vibrant, clear, and effective.