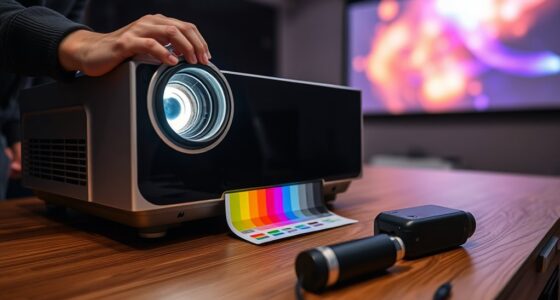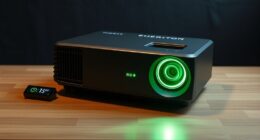
To calibrate your projector’s color and brightness, start by accessing the menu through the dedicated button or remote. Adjust the brightness to balance dark and light areas without washing out details. Use test patterns or calibration tools to fine-tune color temperature, saturation, and individual RGB channels for accurate colors. Save your settings and periodically re-calibrate to maintain ideal picture quality. Exploring these steps in detail can help you achieve vibrant, true-to-life images.
Key Takeaways
- Access the projector’s menu and locate color and brightness calibration settings.
- Adjust brightness to balance dark and light details without washing out the image.
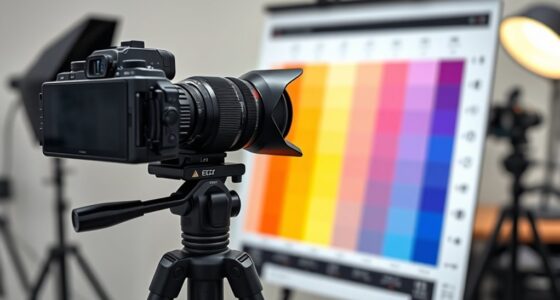
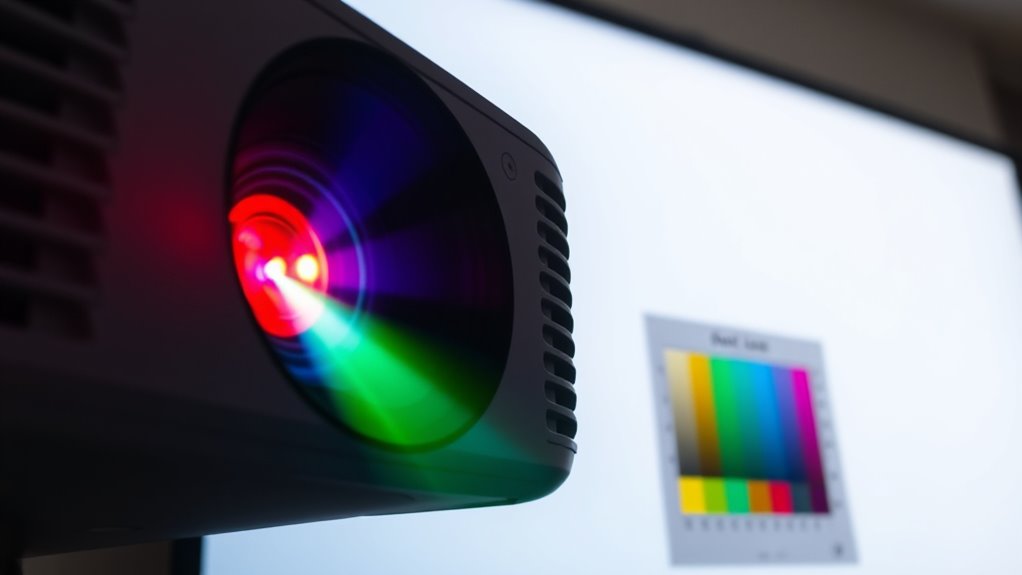
- Use test patterns or calibration tools to fine-tune color temperature and individual color channels.
- Optimize contrast and saturation to enhance depth and vibrancy, starting from preset modes if available.
- Save calibration settings and re-calibrate regularly for consistent, accurate image quality.
Calibrating your projector’s color and brightness guarantees that images appear vibrant and true to life. Achieving optimal visual quality starts with focusing on color accuracy and proper brightness adjustment. When your projector displays accurate colors, the images will look natural, avoiding oversaturated or washed-out visuals. To start, you’ll want to access the projector’s menu system, which typically involves pressing a dedicated button or browsing through the remote control. Look for options labeled “Color Settings,” “Picture,” or “Display,” as these contain the controls you need for calibration.
Adjusting brightness is a crucial step in this process. Brightness settings control the overall luminance, affecting how dark or light the image appears. If your image looks dull or washed out, increase the brightness slightly until details in the darker areas become visible without sacrificing contrast. Conversely, if the image appears overly bright and colors look faded or washed out, reduce the brightness. Remember, the goal is to find a balance where blacks are deep and rich without losing detail, and whites remain crisp without appearing blown out.
Adjust brightness to balance dark details and overall contrast for vibrant, natural images.
Color accuracy, on the other hand, involves fine-tuning the color temperature and saturation. Many projectors come with preset modes like “Standard,” “Cinema,” or “Vivid,” but for precise calibration, you should manually adjust these settings. Use test patterns or calibration tools to guide your adjustments. For example, a grey scale test pattern can help you set the color temperature, ensuring whites look neutral and not tinted with blue or yellow. If your projector offers a color management system, tweak individual color channels—red, green, and blue—to match the original tones as closely as possible. Additionally, understanding the contrast ratio can help you optimize the depth and clarity of your images during calibration.
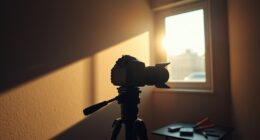
It’s best to make small, incremental changes rather than large jumps. After each adjustment, step back and evaluate the image from your typical viewing distance. If you notice any color cast or dullness, continue fine-tuning. Keep in mind that ambient lighting can influence the perceived brightness and color accuracy, so perform your calibration in a similar lighting environment where you’ll usually view content.
Once you’re satisfied with the calibration, save your settings to prevent accidental changes. Regular re-calibration is recommended, especially if you move the projector or change the environment. Properly calibrated projectors not only improve picture quality but also reduce eye strain and enhance your overall viewing experience. By focusing on precise brightness adjustment and color accuracy, you ensure that every image appears as vibrant, detailed, and true to the original as possible.
Frequently Asked Questions
How Often Should I Recalibrate My Projector?
You should recalibrate your projector at least every six months or whenever you notice color or brightness issues. Calibration frequency depends on usage and environment, so regular maintenance tips suggest checking settings monthly. If you move the projector or change the room’s lighting, recalibrate sooner. Staying proactive helps maintain ideal picture quality and prolongs your projector’s lifespan, ensuring your viewing experience stays sharp and vivid.
Can I Calibrate My Projector Without Professional Tools?
Yes, you can do DIY calibration without professional tools. Start by adjusting your projector’s brightness, contrast, and color settings using its onboard menu. Use calibration tools like colored test images or free apps to help you fine-tune the image. While professional calibration offers more precision, these simple steps can markedly improve your picture quality, making your viewing experience more vibrant and accurate without needing costly equipment.
Does Room Lighting Affect Calibration Settings?
Yes, room lighting affects your calibration settings. Ambient lighting can wash out colors and reduce contrast, making your calibration less accurate. Additionally, screen reflectivity influences how light bounces off your projector’s surface, impacting image quality. To get the best results, calibrate in a dimly lit room with controlled ambient lighting, and consider using a screen with low reflectivity for clearer, more vibrant images.
Are There Specific Calibration Settings for Different Content Types?
Yes, you should make content-specific adjustments by tweaking visual mode settings. For movies, increase contrast and reduce brightness for richer blacks, while for presentations, opt for brighter images with sharper details. Adjust the visual mode settings on your projector to match the content type, ensuring ideal viewing quality. These specific calibration settings help you enjoy vivid, accurate images tailored to each type of content.
How Does Calibration Impact Projector Lifespan?
Calibration doesn’t directly affect your projector’s lifespan, but proper maintenance does. Using calibration tools regularly guarantees your projector operates efficiently, reducing strain on components like the lamp and optics. When you keep your projector well-maintained and calibrated, it minimizes wear and tear, helping it last longer. So, while calibration itself isn’t a lifespan determinant, it plays a crucial role in overall projector maintenance, supporting longevity and essential performance.
Conclusion
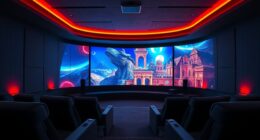
By taking the time to calibrate your projector’s color and brightness, you’ll enjoy sharp, vibrant images that bring your movies or presentations to life. Don’t worry if it takes a few tries—think of it as fine-tuning a musical instrument. With patience, you’ll see your projector perform at its best, transforming your space into a cinematic or professional haven. Soon, you’ll forget about the settings and just enjoy stunning, true-to-life visuals every time.