To measure projector lag with test patterns, first set up your projector and connect a high-quality test pattern source, choosing patterns like moving grids or flashing colors. Place your recording camera directly in front, stabilized, and focused on the display. Record the pattern with a high-frame-rate camera, ensuring steady footage. Analyze the footage frame-by-frame to pinpoint the delay between the pattern’s appearance and the response. Keep exploring to learn detailed steps for precise measurement and calibration.
Key Takeaways
- Set up a high-contrast test pattern (e.g., moving grid or flashing squares) on the projector and position a camera directly in front at eye level.
- Record the display with a high-speed camera or lag testing device, ensuring sharp focus and stable positioning.
- Capture footage showing the test pattern’s appearance and the projector’s response cues under consistent lighting conditions.
- Analyze the recorded video frame-by-frame to measure the delay between the pattern’s appearance and the response cue.
- Use calibration techniques and reference tables to pinpoint the exact lag time, then adjust the projector settings accordingly.
high-speed camera for projector lag testing
As an affiliate, we earn on qualifying purchases.
As an affiliate, we earn on qualifying purchases.
Gather the Necessary Equipment and Materials

Before you begin measuring projector lag, you need to gather the right equipment and materials. Start by collecting accurate measurement tools, such as a high-speed camera or a specialized lag testing device, to ensure precise results. You’ll also want calibration techniques like a test pattern generator or a reference monitor to verify your setup’s accuracy. These calibration techniques help eliminate variables that could skew your measurements. Make sure your measurement tools are compatible with your projector and capable of capturing quick response times. Having the right equipment prepared beforehand streamlines the testing process and improves reliability. Double-check that all tools are calibrated correctly to avoid errors. Incorporating GMC tuning methods can also assist in optimizing your display settings for more accurate results. By gathering these essential items, you’ll set a solid foundation for accurate projector lag measurement.
test pattern generator for display calibration
As an affiliate, we earn on qualifying purchases.
As an affiliate, we earn on qualifying purchases.
Set Up Your Projector and Test Pattern Source
Start by choosing a suitable test pattern that clearly shows motion and contrast. Connect your test pattern source to the projector, ensuring a stable connection. Finally, adjust your projector settings for ideal image quality before beginning your lag measurements. To ensure accurate results, it is also helpful to familiarize yourself with projector lag, which can influence your testing process.
Select Appropriate Test Pattern
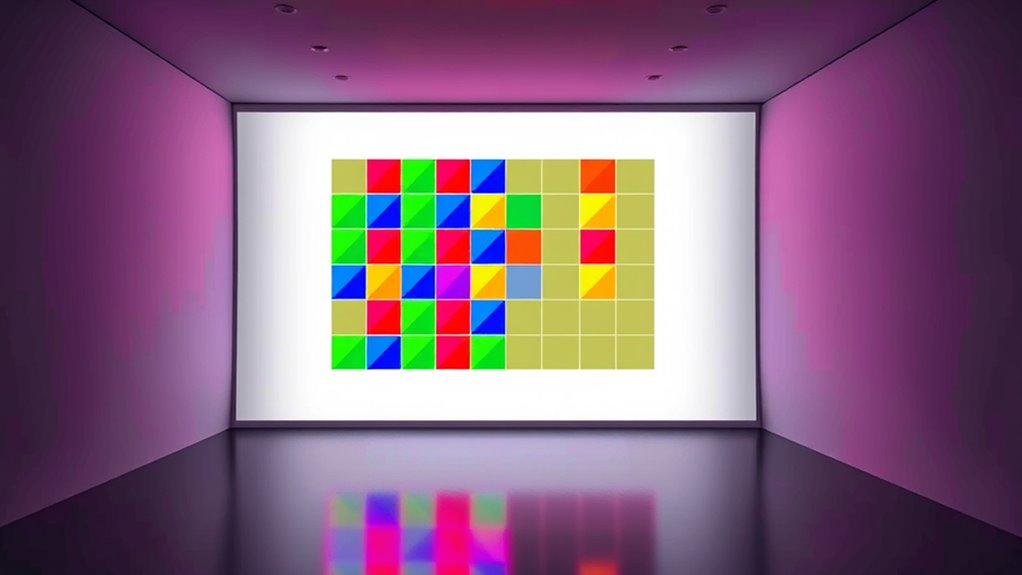
To accurately measure projector lag, you need to select the right test pattern and guarantee your setup is correct. Choose a pattern that clearly shows motion or timing cues, like a moving grid or flashing bars. Ensure your pattern source supports resolution optimization for sharp, accurate images, which helps detect lag precisely. For consistent results, pick a pattern with distinct, high-contrast elements to assist in color calibration and timing accuracy. Use this table to guide your choice:
| Pattern Type | Features | Purpose |
|---|---|---|
| Moving grid | Dynamic, clear lines | Measure response time |
| Checkerboard | High contrast, static | Calibration accuracy |
| Color bars | Distinct colors, static | Verify color accuracy |
| Flashing lights | Bright, quick flashes | Detect lag shifts |
| Pulsing patterns | Brightness variations | Confirm timing |
Selecting the right pattern guarantees reliable lag measurement. Additionally, proper setup and calibration are essential for precise results, ensuring that your measurements are both accurate and repeatable.
Connect Test Pattern Source
Ensuring a proper connection between your test pattern source and projector is essential for accurate lag measurement. First, verify that your source device supports the test pattern you plan to use, checking for test pattern compatibility. Use high-quality cables, such as HDMI or DisplayPort, to guarantee a stable source connection. Avoid cheap or damaged cables, as poor connection quality can introduce delays or distortions that skew results. Connect your test pattern source directly to the projector without any adapters or splitters, which can interfere with signal integrity. Once connected, turn on both devices and confirm that the test pattern displays clearly and without lag or distortion. Additionally, selecting a projector with a low input lag performance is crucial for obtaining accurate measurements. This setup guarantees a reliable baseline for precise projector lag measurement.
Adjust Projector Settings
Once your test pattern source is connected, you should modify your projector’s settings to optimize image quality and guarantee accurate lag measurement. Proper projector calibration involves fine-tuning brightness, contrast, and sharpness. Use calibration techniques to ensure the image displays correctly without distortions that could affect timing. Focus on the input lag reduction features, such as game modes or low-latency settings, to minimize delay. Adjust the color settings for clarity and consistency. Here’s a quick reference:
| Setting | Recommended Adjustment | Purpose |
|---|---|---|
| Brightness & Contrast | Set for natural colors | Accurate image calibration |
| Sharpness | Moderate to avoid artifacts | Precise test pattern display |
| Input Mode | Enable low-latency mode | Reduce input lag |
| Color Settings | Match test pattern colors | Ensure calibration accuracy |
Additionally, reviewing the resources and tools available for calibration can help ensure your settings are optimal for lag measurement.
lag testing device for projectors
As an affiliate, we earn on qualifying purchases.
As an affiliate, we earn on qualifying purchases.
Select or Create an Appropriate Test Pattern
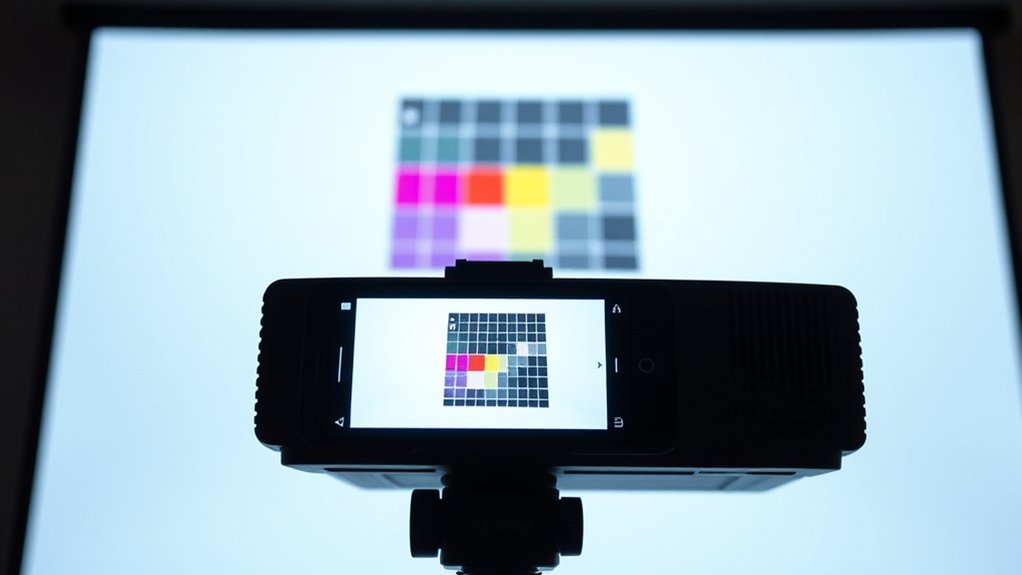
Selecting or creating an appropriate test pattern is crucial for accurately measuring projector lag. You want a pattern that offers clear, high-contrast visuals to detect timing differences easily. Keep in mind that test pattern complexity matters; simple patterns with sharp edges help you notice delays more precisely, while overly complex designs can introduce unnecessary confusion. Additionally, guarantee good color accuracy so that colors appear true to life, making it easier to observe any lag-related discrepancies. Use test patterns with distinct, well-defined elements, such as moving lines or flashing squares, to provide consistent reference points. Avoid patterns that are too busy or lack contrast, as they can obscure subtle delays. The right test pattern sets the foundation for precise measurements and reliable results. Incorporating visual clarity into your test pattern design is essential for identifying even minor lag issues accurately.
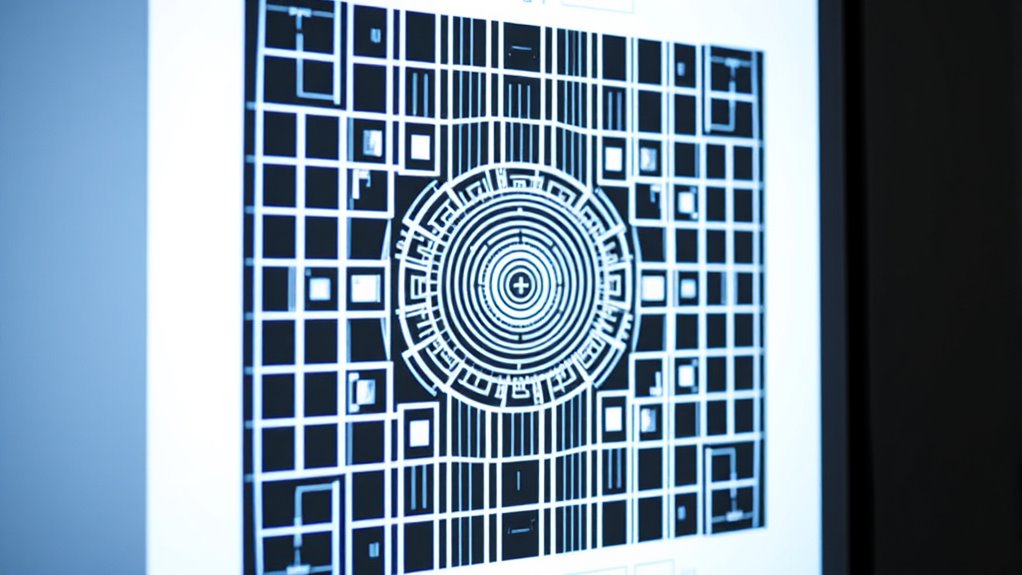
high-contrast test pattern for projector calibration
As an affiliate, we earn on qualifying purchases.
As an affiliate, we earn on qualifying purchases.
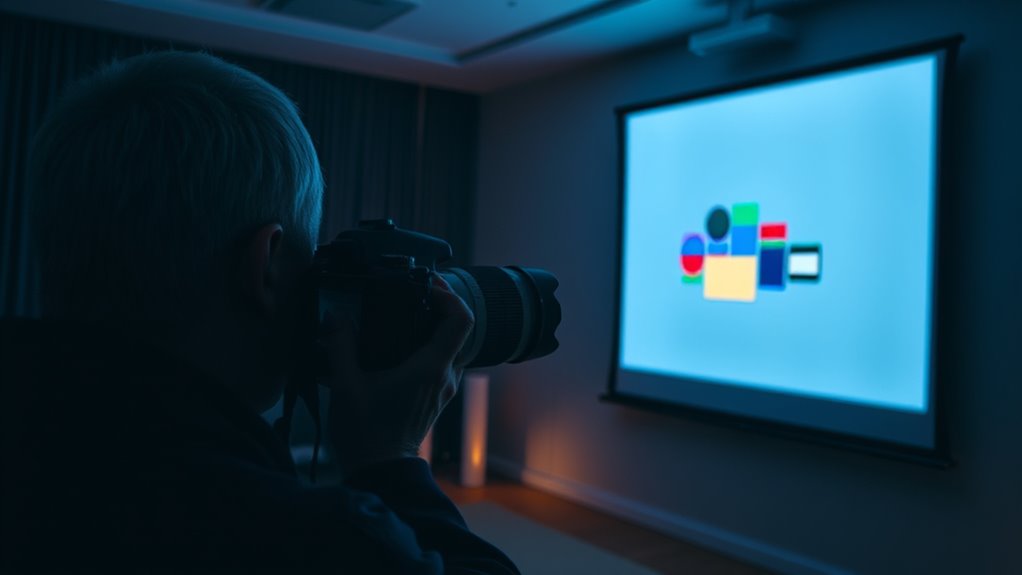
Position Your Recording Device for Accurate Measurement
To obtain accurate measurements of projector lag, you need to carefully position your recording device so it captures both the test pattern and the projected image simultaneously. Proper camera positioning is vital; place your camera directly in front of the screen at eye level to minimize distortion. Adjust your lighting setup to eliminate glare and reflections that could interfere with clarity. Make certain your camera remains steady using a tripod or stable surface. Keep the lens focused on the screen for sharp image capture. Confirm the entire test pattern is within the frame. When positioning, consider these emotional factors: – Feel confident your measurement is precise – Minimize distractions for clearer results – Eliminate shadows that could skew data – Trust your setup for consistent, reliable measurements. Additionally, understanding the importance of Kia Tuning can help you optimize your vehicle’s performance during testing and calibration.
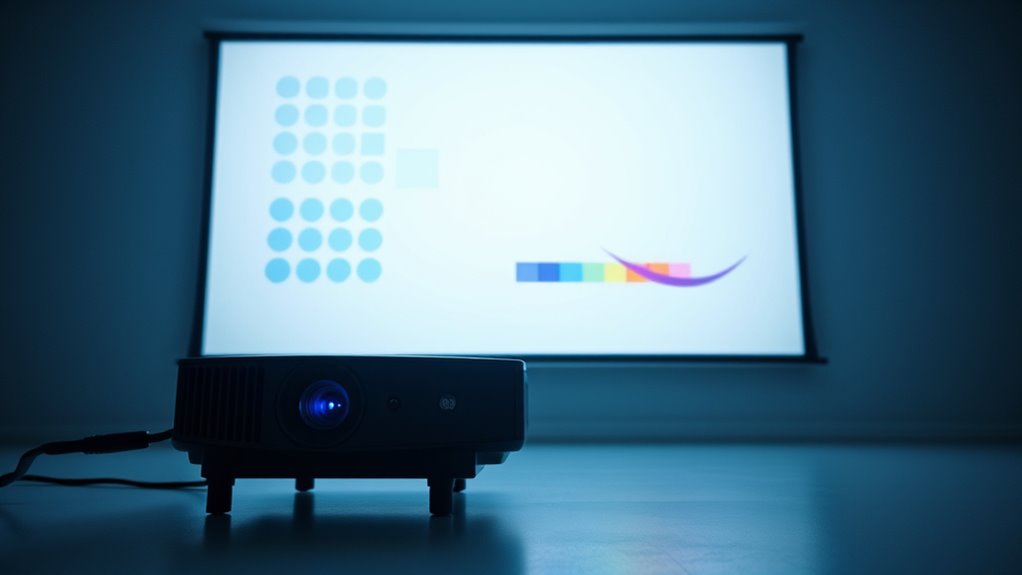
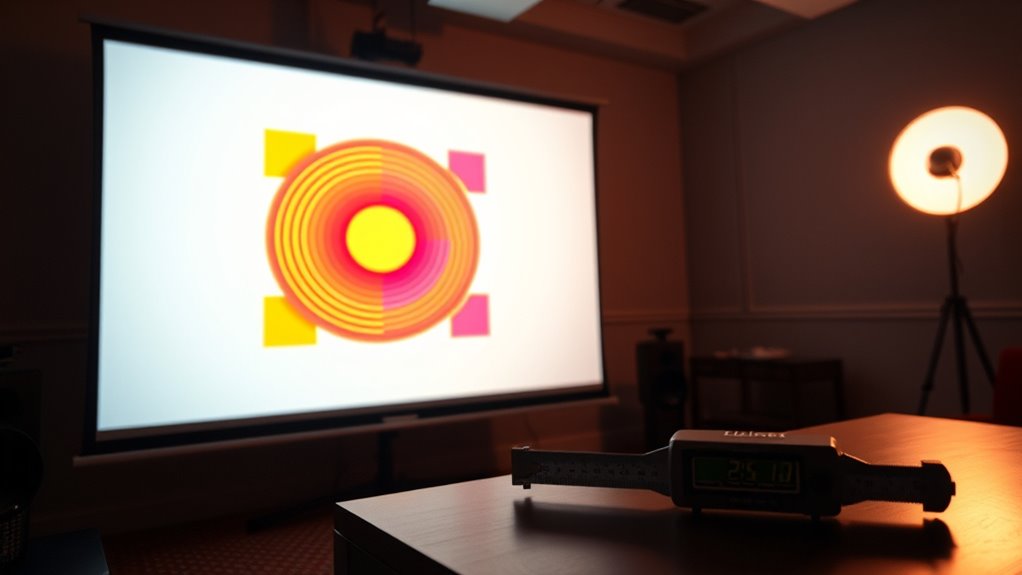
Capture the Test Pattern With Video Recording
Start by setting up your recording device in the right position to clearly capture the test pattern. Record the display as the projector shows the pattern, ensuring the entire image is visible. Once done, save and analyze the video to measure the lag accurately. To improve accuracy, ensure that the recording device’s frame rate is sufficient to capture the timing differences in the test pattern. Juice Cleanse and Detox
Set Up Recording Device
Have you ever wondered how to accurately measure a projector’s lag? Setting up your recording device correctly is essential. Start by choosing a stable tripod to prevent shaky footage. Make certain your camera’s calibration techniques are precise, so the video analysis remains reliable. Use a high-quality camera with a fast shutter speed to capture clear, sharp images. Keep the lighting consistent to avoid reflections or glare that could distort your test pattern. Confirm your recording device’s resolution matches your analysis needs. Remember, accurate setup reduces errors and guarantees trustworthy results. Proper calibration of your camera ensures the accuracy of your measurements, which is crucial for reliable lag testing.
Key setup tips:
- Secure your camera on a sturdy tripod
- Calibrate your camera’s focus and exposure
- Use a high frame rate for better analysis
- Maintain consistent lighting conditions
Proper setup ensures your video recordings will provide the accurate data needed to measure projector lag effectively.
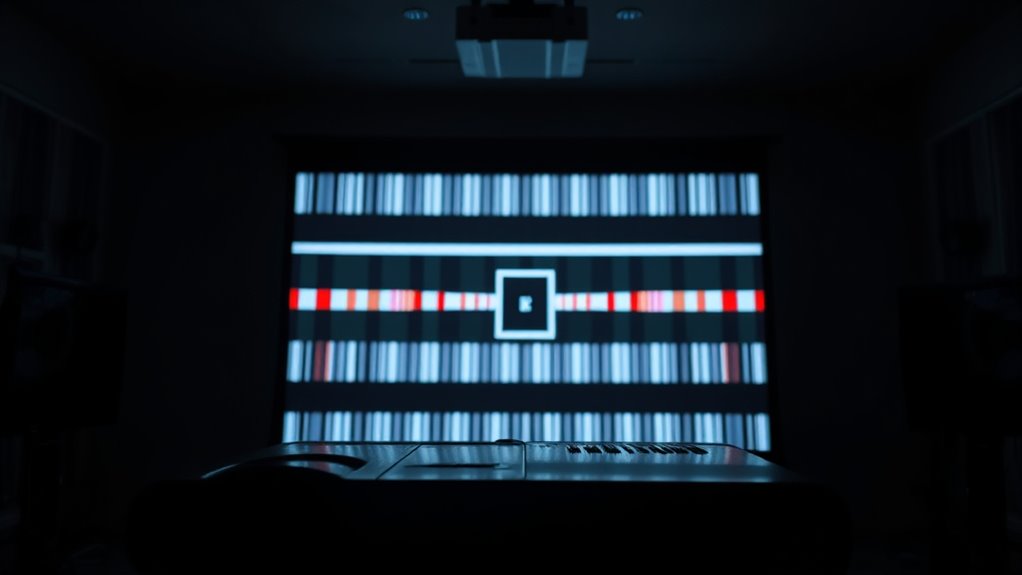
Record Test Pattern Display
Before capturing the test pattern display, make certain your recording device is properly positioned in front of the projector. Ensure the camera is steady and centered to avoid distortion. Use a tripod if possible for stability. When recording, focus on capturing the test pattern clearly, as this will impact your calibration techniques and comparison methods later. For better accuracy, record multiple takes from different angles if needed. This helps identify any inconsistencies or delays. Keep lighting minimal to prevent glare or reflections. Here’s a helpful table:
| Step | Details |
|---|---|
| Position Camera | Directly in front, stable, centered |
| Focus and Exposure | Adjust for clear, sharp image |
| Record Multiple Clips | For comparison methods |
| Maintain Consistency | Same settings for each recording |
This ensures high-quality footage for accurate lag measurement.
Save and Analyze Video
How can you guarantee your test pattern video is ready for accurate lag analysis? First, record your footage in a well-lit environment to ensure clarity. Use steady hands or a tripod to prevent shaky footage, which complicates analysis. During video editing, stabilize the footage to remove unwanted motion, making lag differences clearer. Save your recording in a high-quality format to preserve detail. When reviewing, look for consistent frame timing and minimal artifacts that could affect accuracy. By carefully stabilizing and preserving your video, you ensure precise measurements. Recognizing angel number patterns can also help interpret your findings in relation to your projector’s performance.
Analyze the Footage to Determine Lag Duration
To accurately determine the projector’s lag duration, start by reviewing the footage carefully. Focus on identifying the exact moment the test pattern appears on-screen and when the projected image responds. Use calibration techniques to enhance measurement accuracy. Comparing the recorded footage frame-by-frame helps pinpoint the delay precisely. To assist your analysis, here’s a quick reference table:
| Test Pattern Frame | Response Frame | Lag Duration (ms) |
|---|---|---|
| Frame 10 | Frame 15 | 50 |
| Frame 20 | Frame 25 | 50 |
| Frame 30 | Frame 33 | 20 |
| Frame 40 | Frame 45 | 50 |
| Frame 50 | Frame 55 | 50 |
This method guarantees accurate measurement, essential for fine-tuning your setup and improving overall measurement precision.
Interpret Your Results and Adjust Settings if Needed
Once you’ve analyzed your footage and determined the projector’s lag duration, the next step is to interpret these results carefully. If your lag exceeds acceptable levels, it’s time to evaluate calibration techniques to improve performance. Adjustments may involve fine-tuning your display calibration to reduce delay and enhance responsiveness. Remember, even small improvements can make a big difference in gameplay or viewing experience.
Focus on these key steps:
- Identify whether the lag is within your acceptable range
- Experiment with display calibration settings for better sync
- Use test patterns to verify adjustments’ effectiveness
- Reassess until you achieve the desired low latency
Taking these measures ensures your projector delivers optimal, immersive visuals with minimal delay.
Frequently Asked Questions
Can Software Tools Automatically Calculate Projector Lag From Video Footage?
Yes, software automation can automatically calculate projector lag from video footage, enhancing measurement accuracy. These tools analyze the footage to precisely determine the delay between the source signal and the projected image. By automating the process, you save time and reduce human error, ensuring reliable results. Using specialized software, you can easily obtain accurate lag measurements, making it a practical solution for evaluating your projector’s performance efficiently.
What Is the Ideal Distance Between the Projector and Recording Device?
Imagine you’re a pioneer steering uncharted territory—your ideal distance for projector placement and measurement setup is typically 10 to 15 feet from your recording device. Keep the device aligned directly in front of the projector lens for accurate lag measurement. This distance balances image clarity and minimizes measurement errors, ensuring your setup captures true performance. Adjust as needed based on your specific projector’s throw ratio and room size.
How Do Ambient Lighting Conditions Affect Measurement Accuracy?
Ambient light considerably impacts measurement accuracy because bright surroundings can cause reflections and glare, reducing your test pattern’s visibility. This makes it harder to precisely track lag times, affecting your measurement precision. To get the most accurate results, you should minimize ambient light by dimming or turning off lights and working in a dark room. This controlled environment ensures your measurements are consistent and reliable, giving you a clearer picture of your projector’s lag performance.
Is There a Difference in Lag Measurement for Different Types of Test Patterns?
You notice that different test pattern variations can impact lag measurement, as some patterns display static images, while others involve moving elements. These variations can cause measurement inconsistencies if not carefully controlled. To guarantee accurate results, use consistent test patterns across measurements and be aware that certain patterns may exaggerate or mask lag differences. This way, you maintain measurement consistency and achieve reliable comparisons between projectors.
How Often Should I Calibrate My Setup for Consistent Results?
You should calibrate your setup at least once every few months to guarantee measurement consistency, especially if you notice any changes in image quality or lag. Regular calibration helps maintain accurate projector lag measurements and keeps your display performing at its best. If you frequently move or adjust your projector, consider calibrating more often. Consistent calibration frequency ensures reliable results, reducing discrepancies and improving your overall viewing experience.
Conclusion
Measuring projector lag is straightforward once you follow these steps. Did you know that most projectors have a lag ranging from 10 to 30 milliseconds? By accurately capturing and analyzing test patterns, you can guarantee peak performance for gaming or interactive use. Regularly testing your projector helps you identify and reduce lag, enhancing your viewing experience. Keep experimenting with settings until your lag is minimized—your visuals will thank you!