To enable Game Mode on your projector, first check if your model supports it by reviewing the manual or online specs. Power on the projector, access the main menu using your remote, then navigate to the picture or display settings. Look for the ‘Game Mode’ or similar option, and toggle it on. Save your changes and exit the menu. If you’re unsure about fine-tuning or troubleshooting, continue exploring to optimize your gaming experience.
Key Takeaways
- Access the main menu on your projector using the remote control.
- Navigate to “Picture” or “Display” settings within the menu options.
- Locate and select “Game Mode” or “Low Input Lag” feature.
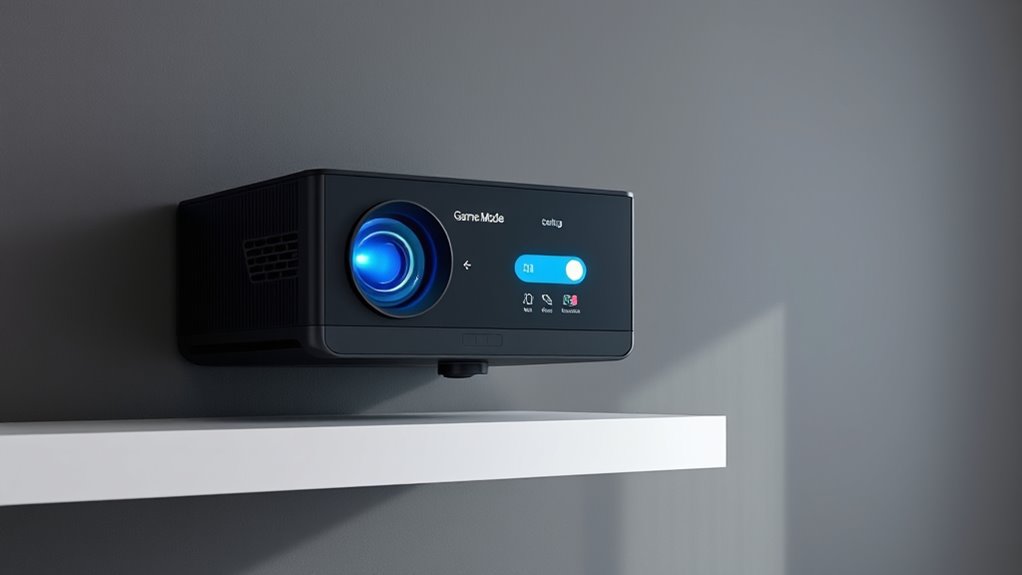
- Toggle the Game Mode on and adjust related picture settings if needed.
- Save your changes and exit to ensure the Game Mode is activated for gaming.

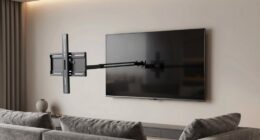
WALI Projector Mount Ceiling/Wall - Universal 3-in-1 Bracket with Extension Pole, Height Adjustable Holder for LCD/DLP Projectors, Supports up to 44lbs, White (PM-003-W)
Compatibility: Universal Projector Mount Bracket for Both Ceiling and Wall Installation. Applicable to mounting holes distance between 8.9’’to...
As an affiliate, we earn on qualifying purchases.
Understanding the Benefits of Game Mode

Understanding the benefits of Game Mode is essential because it markedly enhances your gaming experience. When you activate Game Mode, you’ll notice improved graphics performance, making visuals sharper and more fluid. This setting minimizes latency, reducing input lag so your commands translate instantly on-screen. As a result, you’ll enjoy smoother gameplay with less delay, giving you a competitive edge. Without Game Mode, your projector may display delayed responses that hinder fast-paced gaming. Enabling this feature ensures your projector prioritizes gaming signals, optimizing both image quality and responsiveness. Whether you’re battling opponents or exploring immersive worlds, Game Mode helps you stay in control and fully immersed in the action. It’s a simple adjustment that can considerably elevate your overall gaming performance. Empowering independent sellers for success

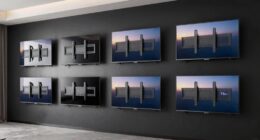
VIVO Universal Extending Ceiling Projector Mount, Height Adjustable Projection, White, MOUNT-VP02W
Universal Extending Ceiling Projector Mount: Built for universal mounting, this product fits the majority of projectors on the...
As an affiliate, we earn on qualifying purchases.
Checking Your Projector’s Compatibility
Before enabling Game Mode, you need to verify if your projector supports this feature. Check the projector’s user manual or specifications online to confirm compatibility. Not all projectors have a dedicated Game Mode setting, and some may offer limited features that don’t enhance gaming performance. Ensuring your projector is compatible is essential for peak gaming experiences, as unsupported models might introduce lag or image processing delays. Look for terms like “Game Mode,” “gaming performance,” or “low input lag” in the specs. If your projector isn’t compatible, enabling Game Mode won’t improve your gameplay. Confirming compatibility first saves you time and helps you avoid frustration, ensuring your setup is ready to deliver the best possible gaming performance. Additionally, being aware of potential AI vulnerabilities in your projector’s firmware can help you maintain a secure and optimal gaming environment.

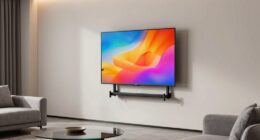
PUTORSEN Adjustable Projector Ceiling Mount,Universal Projector Shelf for Ceiling and Wall, Holds up to 22lbs,No Hole Installation, Hidden Cable Routing, Black
Versatile Application: PUTORSEN projector ceiling mount is compatible with most manual or spectrum projector screens, Also can be...
As an affiliate, we earn on qualifying purchases.
Accessing the Projector’s Main Menu
To access your projector’s main menu, start by turning on the device and ensuring it’s connected to a power source. Grab your remote control and look for the menu or home button. Press it to bring up the main menu on your screen. Use the arrow buttons on the remote to navigate through the options. Usually, the menu will appear as an overlay, allowing you to explore different settings without interrupting your viewing. Be sure to move carefully through the menu to locate your desired options. If the menu doesn’t appear immediately, check if your remote’s batteries need replacing or if the remote is properly synced with the projector. Once you’re inside the main menu, you can proceed to adjust settings or enable specific modes like Game Mode. Remember that user interface design plays a key role in how easily you can navigate and customize your projector settings.

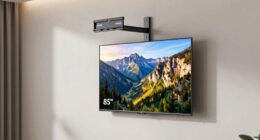
Aurzen Ceiling Projector Mount Bracket, 360° Rotation & 90° Tilt, Adjustable 9"-15" Length, ¼-Inch Screw, Compatible with TMY, HAPPRUN, Yaber, Epson & Most Projectors
Note: Not compatible with Aurzen D1 MAX
As an affiliate, we earn on qualifying purchases.
Navigating to Picture or Display Settings
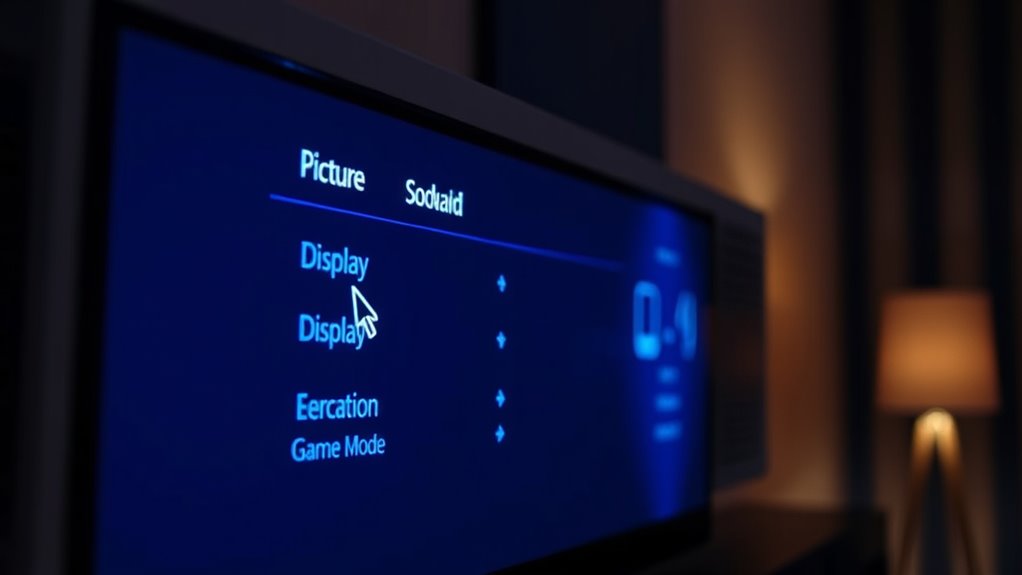
Once you’ve accessed the main menu, look for the section labeled “Picture” or “Display.” Use the remote control functions’ arrow buttons to highlight this option and press the select or OK button to enter. Inside, you’ll find settings related to projector calibration, which help optimize image quality. Navigate carefully to adjust brightness, contrast, and color balance if needed. These settings are essential for a clear and immersive gaming experience. Be mindful that different projectors may label these options differently, but they generally reside within the display menu. Use the remote’s arrow keys to move through the options efficiently. Additionally, understanding Kia Tuning options can give you insights into optimizing performance, which can be metaphorically applied to fine-tuning your projector settings for the best gaming performance.
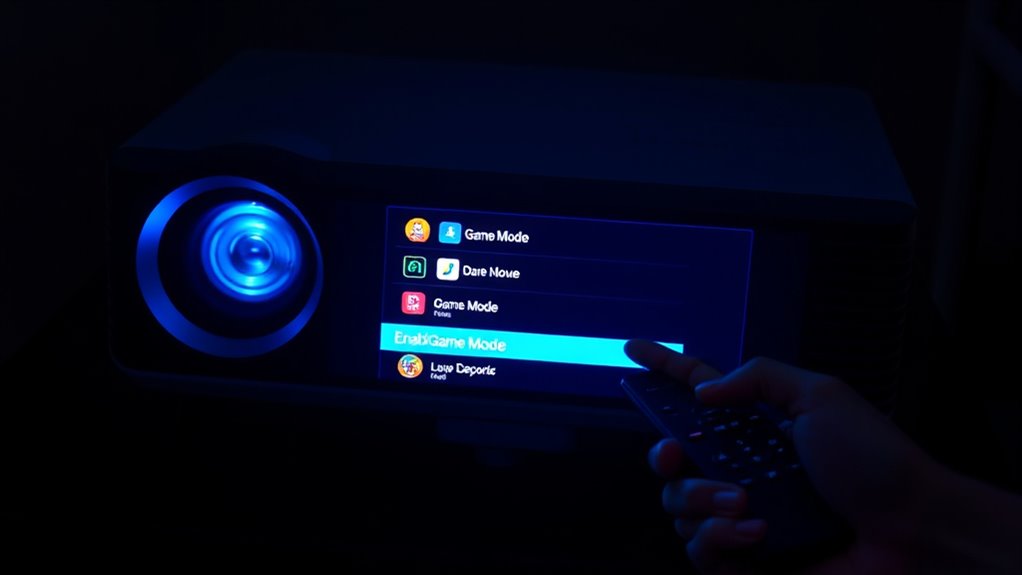
Locating the Game Mode Option
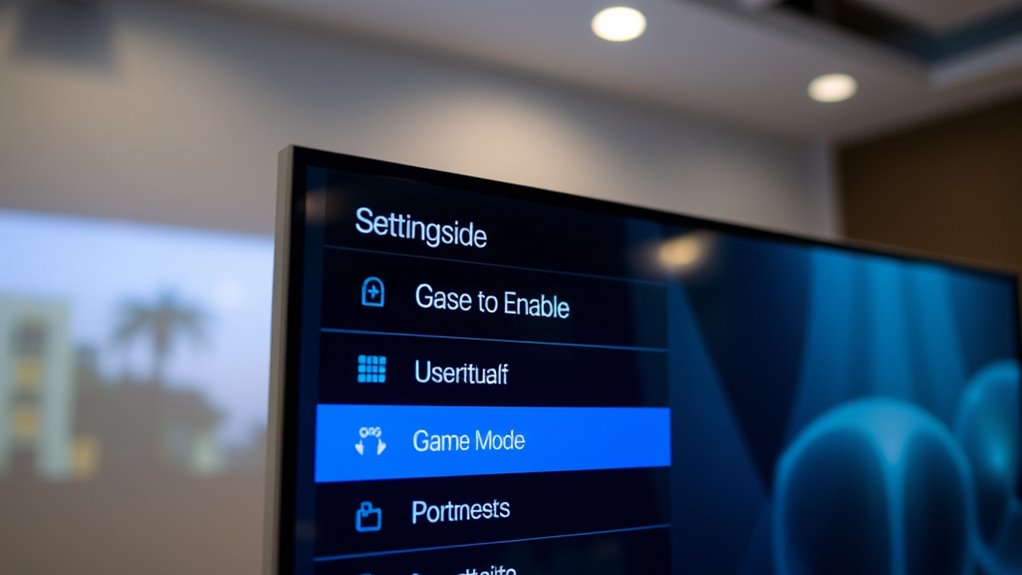
Looking for the Game Mode option on your projector? First, turn on your projector and grab your remote control. Press the menu or settings button to access the main menu. Navigate through the options to locate the picture or display settings. The Game Mode setting is often found within these menus, sometimes under advanced or picture enhancement sections. Keep an eye out for labels like “Game Mode,” “Gaming,” or similar terminology. If your projector has a quick access button or shortcut, it might directly open the relevant menu. Remember, your projector lamp’s performance can influence image quality, so ensure it’s functioning at its best. Additionally, refresh rate, which is crucial for a smooth gaming experience, can sometimes be adjusted within these settings. Once you spot the Game Mode option, you’re ready to enable it in the next step.
Enabling Game Mode on Your Projector
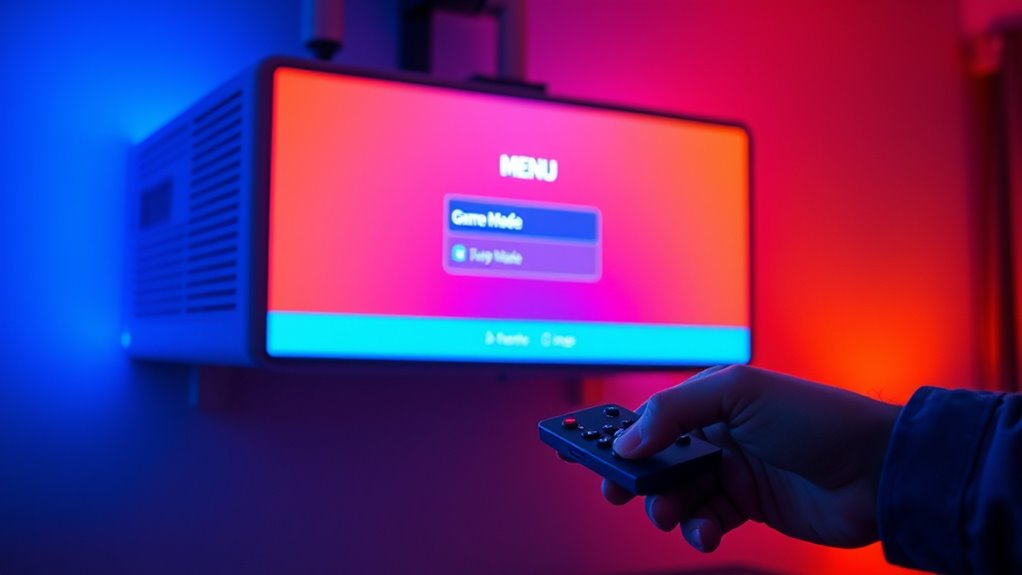
After locating the Game Mode option in your projector’s menu, it’s time to enable it. Turning on Game Mode minimizes input lag, ensuring your video game graphics appear smoother and more responsive. This setting adjusts the projector’s internal calibration, reducing processing delays that can affect gameplay. To enable it, select the Game Mode option and toggle it on. You might notice a slight change in picture settings, but it’s worth it for improved performance. Keep in mind that some projectors may label this feature differently, such as “Gaming Mode” or “Low Latency Mode.” Activating Game Mode optimizes your projector’s calibration specifically for gaming, making your gaming experience more immersive and responsive. For optimal results, also consider display calibration to further enhance visual quality. Once enabled, you’re ready to enjoy smoother gameplay with less delay.
Adjusting Additional Gaming Settings

Once you’ve enabled Game Mode, it’s important to fine-tune your picture settings for the best experience. You should also optimize your audio options to guarantee clear sound during gameplay. Making these adjustments helps you get the most out of your projector while gaming. For an enhanced visual experience, consider adjusting your display settings to match your game’s requirements.
Fine-Tuning Picture Settings
To get the best gaming experience, you should fine-tune your projector’s picture settings beyond the default options. Focus on video calibration to ensure accurate colors and peak contrast. Adjust brightness and contrast to reduce image washout and enhance dark scene details. Use the table below to guide your adjustments:
| Setting | Recommended Adjustment | Purpose |
|---|---|---|
| Color Accuracy | Calibrate using a test pattern | Achieve true-to-life colors |
| Brightness | Set for optimal visibility | Enhance dark scene detail |
| Contrast | Maximize without clipping | Improve image depth |
| Sharpness | Moderate setting | Clarify image edges |
| Color Saturation | Adjust for vibrant but natural look | Prevent oversaturation |
Proper calibration ensures an immersive gaming experience with vivid, accurate visuals. Additionally, understanding the principles of nanotechnology can inspire innovative ways to enhance display technology for future projectors.
Optimizing Audio Options
Optimizing your audio settings can considerably enhance your gaming experience by delivering clearer sound effects, immersive surround sound, and better communication with teammates. Focus on maximizing audio clarity so you can hear important cues and details during gameplay. Adjust the sound synchronization to eliminate any lag between audio and visuals, ensuring a seamless experience. Check your projector’s audio output options and select the best quality setting available. If your projector supports external speakers or sound systems, connect and configure them properly for richer sound. Enable any built-in audio enhancement features to improve overall sound quality. Additionally, consider audio calibration to tailor sound settings to your specific gaming environment for optimal performance. By fine-tuning these settings, you’ll enjoy more precise audio cues, better immersion, and smoother communication—all vital for an ideal gaming session.
Saving Your Settings and Exiting

Once you’ve adjusted your settings, make certain to confirm they’re saved correctly before exiting. Follow the proper procedure to ensure your changes are stored securely. Finally, verify that your settings took effect by checking the display to avoid any surprises during your game session. Understanding your projector’s configuration options can help you troubleshoot and optimize performance more effectively.
Confirm Settings Save
After adjusting your settings, make sure you save them correctly before exiting. Confirm that your screen calibration is properly set to guarantee the best image quality during gameplay. Use your remote control features to navigate to the save option, usually found in the menu or settings tab. Double-check that the “Save Settings” or similar confirmation prompt appears and select it. This step ensures all your adjustments, including game mode and display preferences, are stored correctly. Avoid exiting without saving, as your changes won’t take effect. Take a moment to verify that your preferences are retained. Properly saving your settings guarantees a seamless gaming experience and prevents the need to recalibrate or reconfigure each time you turn on your projector.
Exit Properly Procedure
Before exiting your projector’s menu, verify all your settings are saved correctly. Properly saving your preferences ensures your gaming accessories and projector maintenance routines stay intact, preventing frustration during future gaming sessions. To do this smoothly:
- Confirm the save prompt appears, signaling your settings are stored securely.
- Exit the menu carefully, avoiding accidental changes or resets.
- Power off your projector only after confirming all configurations are saved, preserving your game mode adjustments.
Taking these steps guarantees your optimized settings remain, so you can focus on gaming without interruptions. A quick, mindful exit process helps maintain your projector’s performance and prolongs its lifespan, making every gaming experience seamless and enjoyable.
Verify Saved Changes
To make certain your settings are properly saved and your game mode remains active, double-check that the save prompt confirms your preferences. Make sure you’ve completed controller calibration and remote control setup, so your projector responds accurately. After saving, verify the display shows the new mode and settings are intact. If your projector prompts you to save, select “Yes” or “Confirm” promptly.
| Step | Action |
|---|---|
| Confirm save prompt | Ensure it indicates changes are saved |
| Check display | Verify game mode is active |
| Controller calibration | Confirm calibration remains effective |
| Remote setup | Make sure remote commands work properly |
Troubleshooting Common Issues

If your projector isn’t activating Game Mode or isn’t delivering the expected performance, troubleshooting can help identify and fix the issue quickly. First, verify your software is up to date, as outdated firmware can prevent proper activation. Next, double-check your remote control setup; sometimes, incorrect button presses or low batteries can hinder mode changes. Finally, verify that your projector’s settings are correctly configured—sometimes, a reset to factory defaults helps resolve persistent issues.
- Confirm your software updates are recent and installed correctly.
- Check your remote control’s batteries and connection.
- Revisit your settings to ensure Game Mode is enabled and saved properly.
Addressing these points can restore peak gaming performance swiftly.
Frequently Asked Questions
Can I Enable Game Mode During a Movie or Presentation?
Yes, you can enable game mode during a movie or presentation, but it might not be ideal. Game mode reduces input lag and enhances response time, which benefits gaming but can sometimes compromise picture quality and enhancement features. If you prioritize smooth, quick interactions, turn it on, but for the best movie or presentation quality, consider disabling it to enjoy ideal picture enhancement and clarity.
Does Enabling Game Mode Affect Overall Picture Quality?
Enabling game mode can give you a slight trade-off in picture quality, but it’s usually worth it for smoother gameplay. While it reduces input lag and enhances image clarity during fast-paced action, you might notice a minor decrease in overall picture quality. If your priority is responsiveness and sharpness in real-time gaming, game mode is a smart choice. Just remember, the difference is often subtle and depends on your projector’s settings.
Is There a Shortcut to Toggle Game Mode Quickly?
Yes, many projectors offer a shortcut toggle for quick access to game mode. You can often set this up through the projector’s menu or assign a button on your remote for instant switching. Check your user manual to see if your model supports a shortcut toggle. Using this feature, you can effortlessly switch to game mode during gameplay without steering through multiple settings, ensuring a seamless gaming experience.
Can I Customize Specific Game Mode Settings?
Did you know that over 60% of gamers prefer customized settings for peak performance? Yes, you can definitely customize specific game mode settings on your projector. Most models offer a variety of customization options, allowing you to tweak brightness, contrast, and input lag. You can also save preset configurations for different game types, giving you quick access to your ideal setup whenever you start gaming.
Will Enabling Game Mode Reduce Input Lag Immediately?
Yes, enabling game mode will immediately reduce input lag, enhancing your gaming performance. When you turn on game mode, your projector prioritizes processing for lower latency, which means your actions will register faster on screen. This quick response time makes gameplay smoother and more responsive. So, once you activate game mode, you’ll notice a more seamless gaming experience, with less delay between your input and what appears on the screen.
Conclusion
Enabling game mode on your projector is like tuning a musical instrument—you’ll enhance the performance and enjoy smoother gameplay. Once you’ve navigated through the settings and activated it, you’ll experience less lag and sharper visuals. Just remember, like any good instrument, it might need some fine-tuning along the way. With your projector properly set up, you’re ready to plunge into your games with clarity and confidence, turning your space into a winning arena.