
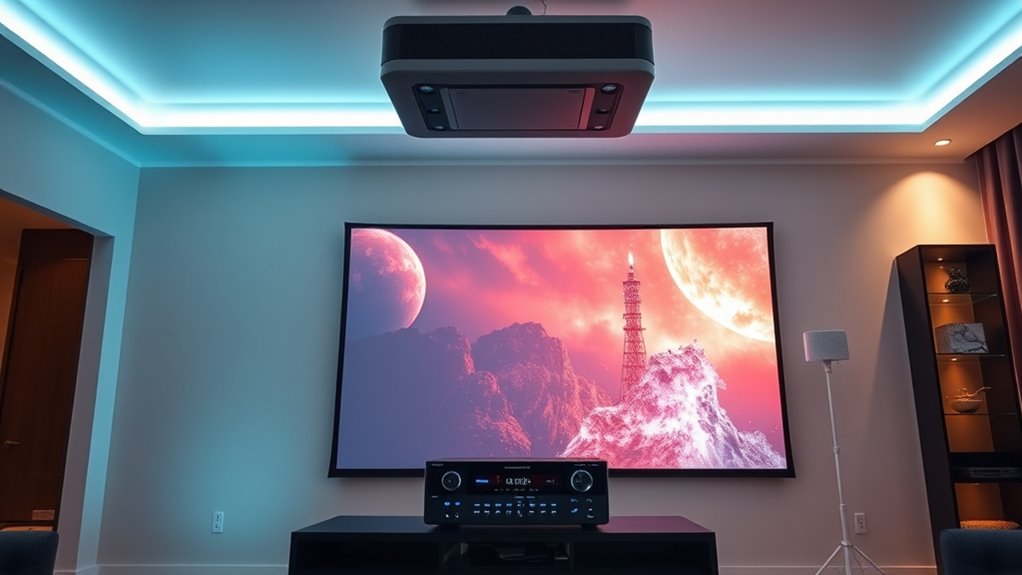
To integrate AV receivers and projectors, start by connecting your projector’s HDMI OUT to the receiver’s HDMI IN port. Use high-speed HDMI cables for clear video and audio signals, and configure the receiver’s settings to match your room layout for the best sound. Make sure your sources, like Blu-ray players or streaming devices, connect to the receiver. With proper setup, your system will deliver crisp visuals and immersive sound—if you keep exploring, you’ll master the details.
Key Takeaways
- Connect the AV receiver’s HDMI OUT to the projector’s HDMI IN for seamless high-resolution video transmission.
- Use high-quality HDMI cables supporting 4K and HDR for optimal video and audio performance.
- Calibrate audio settings via the receiver’s auto-calibration feature to balance speaker output and ensure surround sound accuracy.
- Organize and hide cables using conduits or in-wall wiring to maintain a clean, professional setup.
- Regularly update firmware on both the AV receiver and projector to ensure compatibility and access to the latest features.

Hididi 3.5mm to IR Receiver Cable 5FT Infrared Remote Control Extender Repeater Cable 1.5m3 Receiver Extension Cord for Extender Repeater System IR Emitter for Set Top Box
Supply power: 5V USB cable Length from to Receiver: . 137 cm / 53.94 " Cable Length Receiver...
As an affiliate, we earn on qualifying purchases.
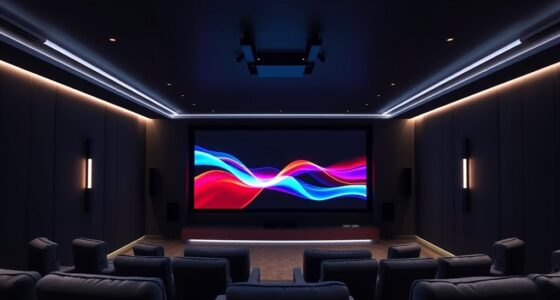
Understanding the Key Components of Your Home Theater Setup
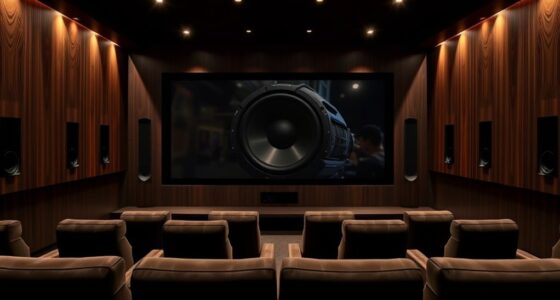
To create an immersive home theater experience, you need to understand the key components that make up your setup. One critical element is speaker placement, which affects sound quality and surround effects. Position your speakers correctly—ideally at ear level and spaced evenly around your listening area—to guarantee balanced sound. Acoustic treatments also play a crucial role; they help control sound reflections and reduce unwanted echoes. Use materials like acoustic panels or diffusers on walls to improve sound clarity and enhance your listening environment. Proper speaker placement combined with strategic acoustic treatments creates a more natural, engaging soundscape. This foundation ensures your AV system delivers crisp dialogue, immersive surround effects, and a true cinematic feel. Incorporating variety of materials can further optimize sound quality and tailor the setup to your space.

ICESPRING Infrared Repeater System IR Repeater Kit Control Up to 10 Devices Hidden IR System Infrared Remote Control Extender Kit
Infrared Repeater Kit controls your IR remote controlled devices that are hidden behind doors or in other rooms....
As an affiliate, we earn on qualifying purchases.
Selecting the Right AV Receiver for Your System
Choosing the right AV receiver is essential because it acts as the heart of your home theater system, powering your speakers and managing audio and video signals. When selecting one, consider your room size and the number of speakers you’ll use. Look for models that support the latest surround sound formats to ensure immersive audio. Pay attention to speaker calibration features, as they simplify setup and optimize sound quality. Also, check for sufficient HDMI inputs and outputs to connect your projector and other devices seamlessly. Ensure the receiver’s power output matches your speaker requirements for clear, distortion-free sound. Finally, choose a user-friendly interface for easy adjustments and updates. This way, you’ll enjoy a balanced, high-quality home theater experience tailored to your needs. Additionally, considering an appropriate sound calibration system can greatly enhance the overall audio performance by fine-tuning the sound to your specific environment.

ENSIGEAR IR Repeater Kit, ir Repeater System,IR Remote Control Extender .Supports up to 100 feet, Dual Sensors Receiver
1) The Hidden IR Repeater System allows you to use an existing infrared (IR) remote control to operate...
As an affiliate, we earn on qualifying purchases.
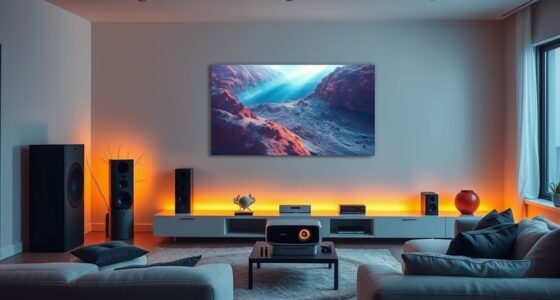
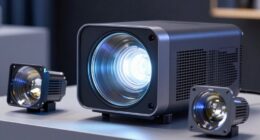
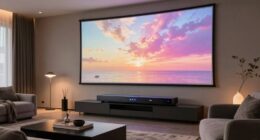
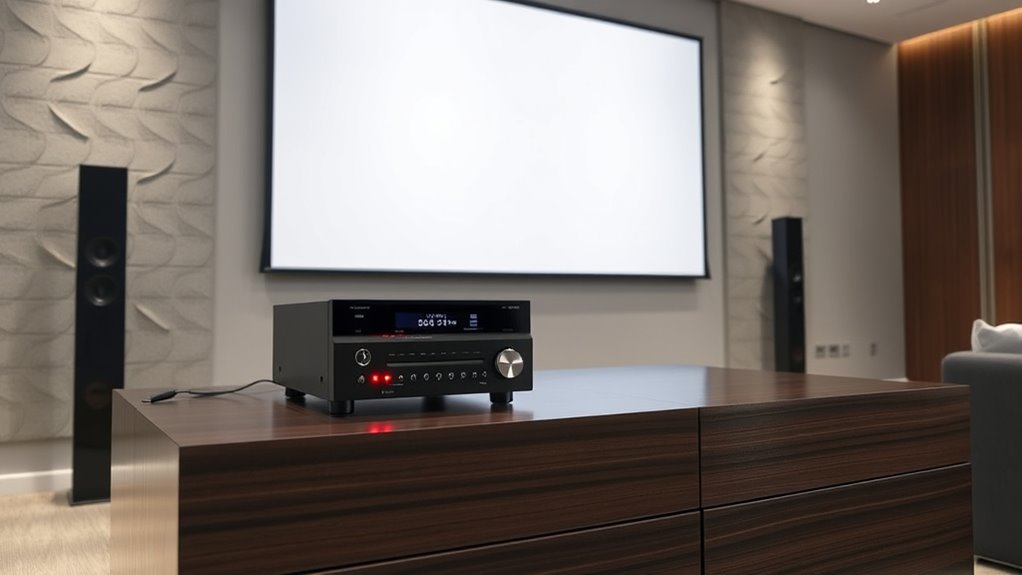
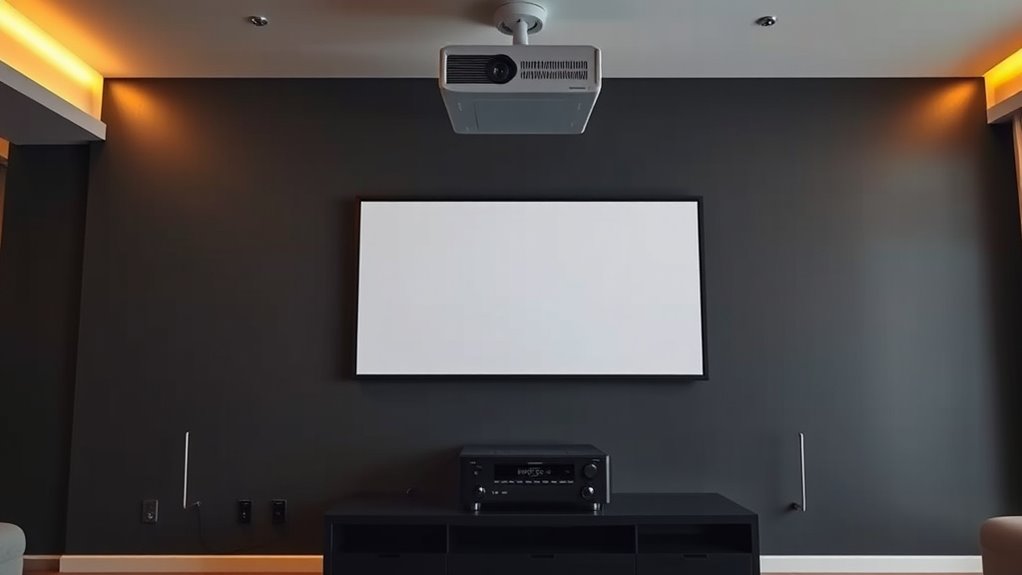
Connecting Your Projector to the AV Receiver
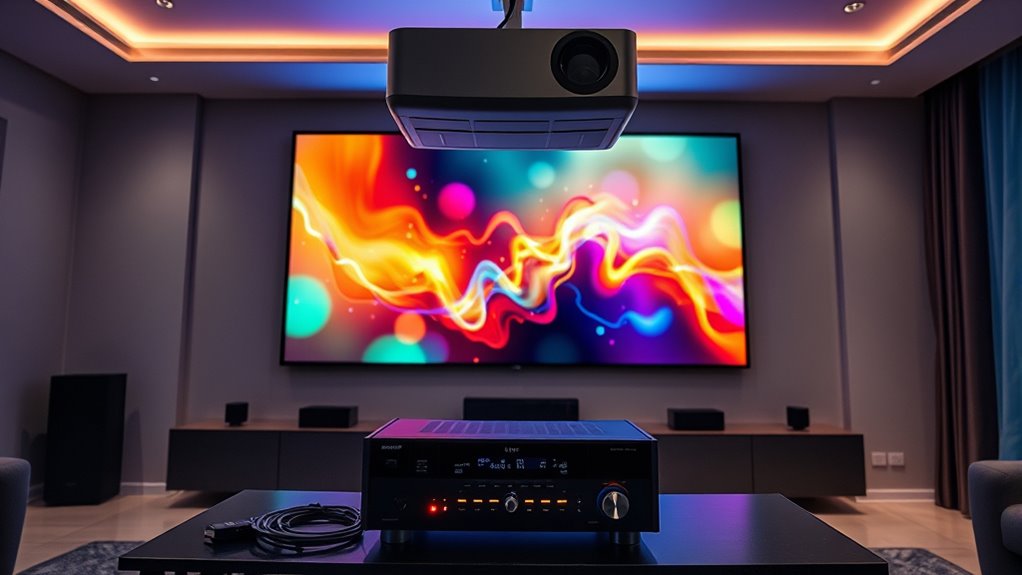
Connecting your projector to the AV receiver involves identifying the correct input and output ports on both devices. Most projectors support HDMI, which handles both video and audio, making it ideal for high-quality connections. Look for HDMI OUT ports on the projector and HDMI IN ports on the receiver. If your projector supports wireless connectivity, you can connect it wirelessly to avoid clutter and improve flexibility. Confirm your AV receiver and projector support 4K compatibility if you’re streaming or playing 4K content to maintain excellent picture quality. Use high-speed HDMI cables rated for 4K to ensure the best signal transfer. Properly connecting these devices guarantees a seamless setup for high-definition video and reliable audio performance.
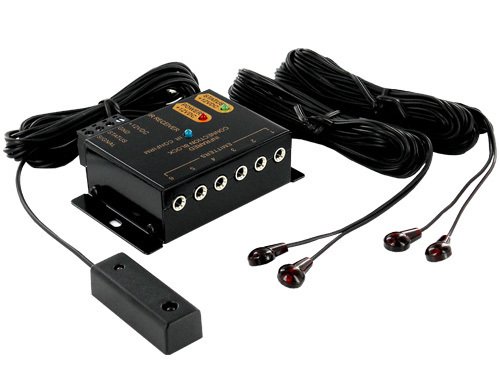
Remote Control Extender IR Repeater Extender System to Control All of Your Audio and Video Products Hidden in a Cabinet, or in Another Room to Keep Them Out of Sight.
The IR Transmitter and Receiver Extends IR signal using a repeater also know as IR repeater kit. Upgraded-...
As an affiliate, we earn on qualifying purchases.
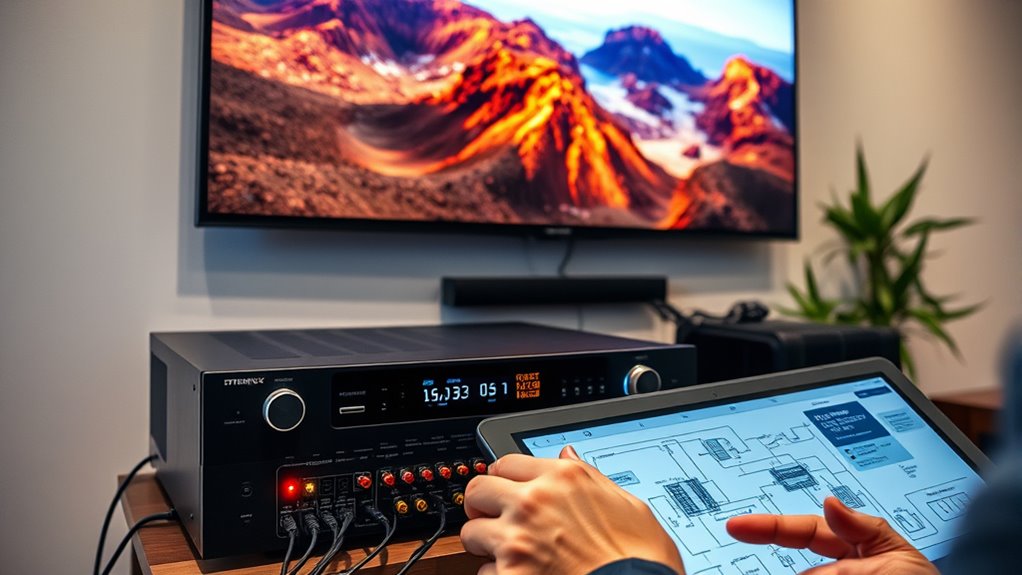
Configuring Audio Settings for Optimal Sound Quality
Once your AV receiver is connected to the projector, the next step is to configure the audio settings to achieve the best sound quality. Proper setup enhances your listening experience by optimizing speaker placement and considering room acoustics. Start by calibrating your speakers to ensure balanced sound across all channels. Adjust speaker distances and levels to match your room’s layout. Use the receiver’s auto-calibration feature if available. Consider speaker placement to reduce echo and improve clarity. Add sound-absorbing materials like curtains or carpets to improve room acoustics. Lastly, tweak equalizer settings to fine-tune bass, midrange, and treble, ensuring a rich, immersive sound. Utilizing room acoustics considerations can further enhance audio clarity and immersion. These adjustments make your audio setup more precise and enjoyable.
Setting Up Video Sources and Display Calibration

To get the best picture, you need to connect your video devices properly and make sure they’re configured correctly. Next, adjust your display settings to suit your viewing environment. Finally, optimize the image quality for sharpness, color, and contrast to enjoy a truly immersive experience. Incorporating visual calibration techniques can further enhance your viewing experience by ensuring the display accurately represents colors and details.
Connecting Video Devices
Setting up your video sources and calibrating the display are essential steps to guarantee ideal picture quality. First, connect your devices like Blu-ray players, gaming consoles, or streaming boxes to your AV receiver using HDMI cables. For wireless streaming, ensure your devices are connected to the same Wi-Fi network and configured correctly. Use your remote control to switch between sources smoothly, avoiding confusion during playback. Keep your cables organized to prevent signal interference. When connecting projectors, verify input settings match your device’s output. Test each source to confirm proper display and audio synchronization. Lastly, update firmware on all devices for optimal compatibility and performance. This setup ensures seamless, high-quality video performance tailored for your home theater experience. Incorporating automated insights from AI can help optimize calibration settings for the best picture quality.
Adjusting Display Settings
After connecting your video sources and ensuring everything is working correctly, it’s time to fine-tune your display settings. Start with calibration techniques to optimize picture quality. Use test patterns or calibration discs to adjust contrast, brightness, and color settings accurately. Focus on display adjustments that improve clarity and color accuracy, ensuring images look natural and detailed. Don’t rush—small tweaks can make a significant difference in how content appears on your projector. Pay special attention to uniformity and sharpness, adjusting settings as needed. Remember, calibration isn’t a one-time task; revisit and refine your display adjustments periodically for consistent performance. Properly calibrated settings will enhance your viewing experience, making every scene vibrant and engaging. Additionally, display calibration can help ensure your projector maintains optimal performance over time.
Optimizing Image Quality
Achieving the best image quality begins with properly setting up your video sources and calibrating your display. Start by applying calibration techniques to fine-tune brightness, contrast, and color accuracy. Use test patterns and calibration tools to ensure your projector or TV displays true-to-life colors and sharp details. Image enhancement settings, such as sharpness and noise reduction, can further improve clarity. To optimize your setup:
- Use a calibration disc or software for precise adjustments
- Adjust gamma and color temperature for natural tones
- Enable high dynamic range (HDR) if supported
- Regularly recalibrate to maintain image quality over time
- Remember to monitor projector bulb maintenance to ensure consistent brightness and color performance over time
Focusing on these steps guarantees your display delivers the best possible picture, creating a more immersive viewing experience.
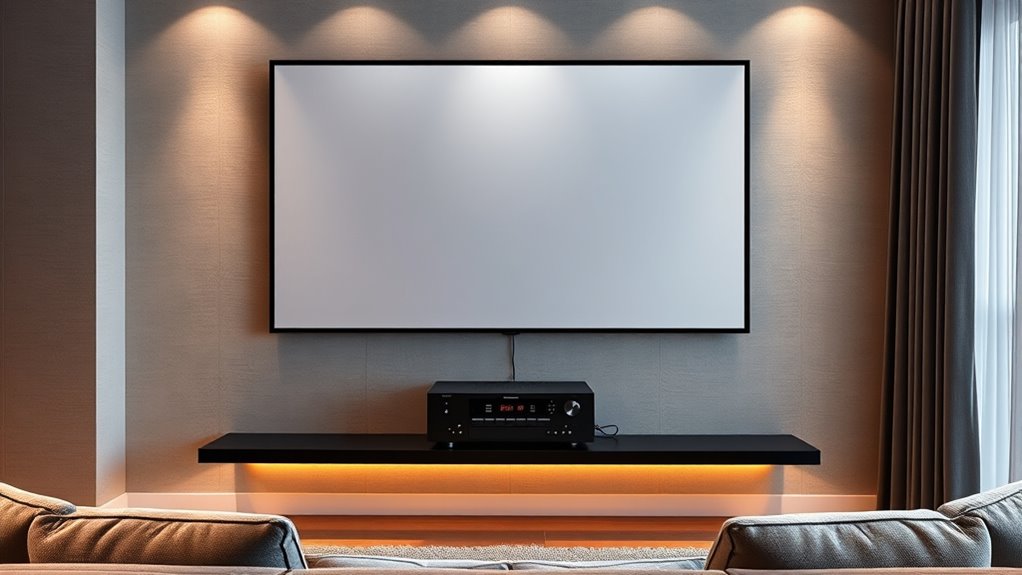
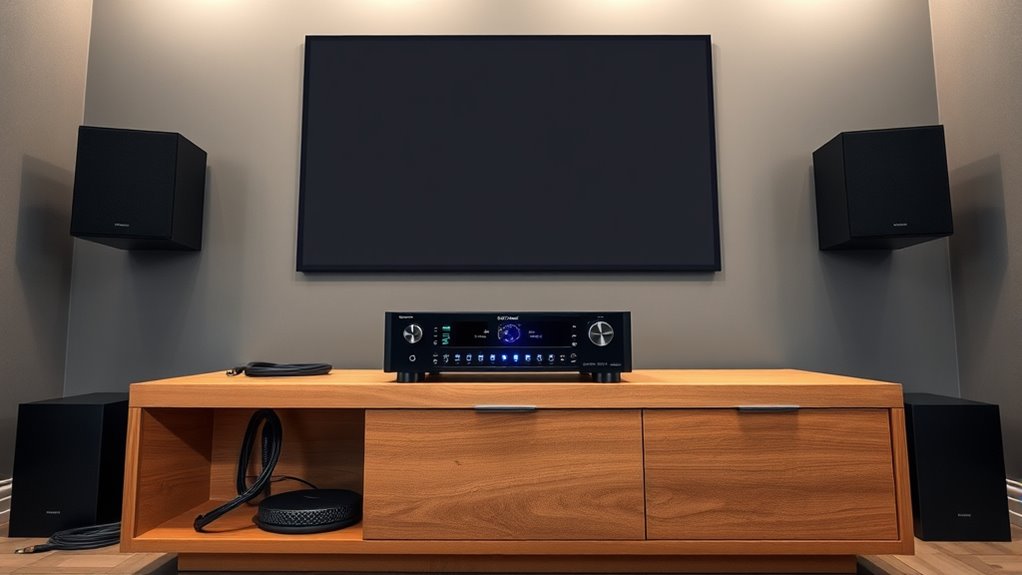
Managing Cables and Ensuring a Clutter-Free Setup
A cluttered setup can distract from your home theater experience and make maintenance a hassle. Using cable management solutions and concealed wiring techniques helps keep your space organized and safe. With a few simple steps, you can create a clean, professional-looking installation that enhances your viewing environment. Embracing attention during installation ensures you focus on detail and achieve a seamless appearance.
Cable Management Solutions
Effective cable management is essential for creating a clean and professional-looking AV setup. It not only improves aesthetics but also enhances safety and functionality. To achieve this, consider using cable clips, raceways, or sleeves to keep wires organized. For wireless streaming devices, ensure cables are neatly tucked away to avoid clutter around your media area. Proper speaker placement reduces the need for excessive cabling, making your setup cleaner. You can also use cable ties or Velcro straps to bundle cords, preventing tangling. Keep power strips off the floor and behind furniture to minimize visual clutter. Regularly check and update your cable organization to maintain a tidy, efficient system that makes your AV experience seamless and enjoyable. Understanding cable management resources can help you choose the best solutions for your setup.
Concealed Wiring Techniques
To keep your AV setup looking sleek and organized, concealed wiring techniques are essential. Start by planning your cable routes carefully, using wall conduits or raceways to hide wires along walls and ceilings. Wireless integration options can reduce the number of cables needed, enhancing aesthetic concealment and minimizing clutter. For behind-the-screen wiring, consider in-wall cable management systems that keep cables hidden from view, creating a clean look. Use cable clips and sleeves to bundle and route wires neatly, preventing tangling. When possible, run cables through wall cavities or behind furniture to keep everything out of sight. This approach not only improves the visual appeal but also makes your setup safer and more accessible for future adjustments.
Troubleshooting Common Connection Issues
When connecting AV receivers and projectors, connection issues are common and can disrupt your setup. You might experience problems with wireless streaming or voice control features not responding correctly. To troubleshoot, start by checking all cables and ensuring your devices are powered on and updated. Confirm that your Wi-Fi connection is stable for seamless wireless streaming. If voice control isn’t working, verify that your voice assistant has access to the correct devices and permissions. Additionally, restart your AV receiver and projector to reset the connection. Finally, consult user manuals for specific troubleshooting tips. Remember, common issues often stem from loose connections, network glitches, or outdated firmware, so staying current and methodical can resolve most problems efficiently. Incorporating industry transformations, such as AI automation, can also enhance device compatibility and troubleshooting efficiency.
Frequently Asked Questions
How Do I Ensure Compatibility Between My AV Receiver and Projector?
To guarantee compatibility between your AV receiver and projector, start by checking their supported audio and video formats. Use proper cable management to prevent signal loss or interference, and connect with high-quality HDMI cables. Then, perform signal calibration on your AV receiver to optimize picture and sound quality. Regularly update firmware on both devices to maintain compatibility and ensure smooth operation. This approach guarantees a seamless home theater experience.
What Are the Best Practices for Speaker Placement in My Setup?
You should focus on ideal speaker positioning for sound optimization. Place your front speakers at ear level, angled toward your listening position, and keep them equidistant from the center. Surround speakers should be slightly behind and to the sides at ear level, creating an immersive experience. Avoid placing speakers near walls to prevent sound reflection. Regularly test and adjust placement to fine-tune your setup for the best audio quality.
How Can I Integrate Smart Home Controls With My AV System?
You can seamlessly integrate smart home controls with your AV system by setting up voice control through platforms like Alexa or Google Assistant. Use automation integration to connect your AV receiver and projector with your smart home hub, enabling you to control everything with simple commands. Linking these systems allows you to automate lighting, sound, and projection settings, creating a more intuitive, hands-free entertainment experience tailored to your preferences.
What Safety Precautions Should I Follow During Installation?
Prioritize protecting yourself during installation by practicing proper electrical safety—always unplug devices before wiring. Mind your cable management to prevent tripping hazards and accidental disconnections. Use insulated tools, avoid overloading outlets, and double-check connections before powering on. Keep your workspace dry and well-lit, and follow manufacturer instructions carefully. By taking these precautions, you guarantee a safe, smooth setup that safeguards both you and your equipment.
How Do I Update Firmware for My AV Receiver and Projector?
To update your AV receiver and projector firmware, start by checking for firmware updates through the manufacturer’s website or device menu. Download the latest firmware files and follow their instructions carefully. Make certain to perform compatibility checks to verify the updates match your specific models. Keep your devices connected to a reliable power source during the process to prevent interruptions, which could cause issues or damage.
Conclusion
With the right AV receiver and projector setup, your home theater can deliver stunning audio and visuals. Don’t worry if it feels complicated at first—taking your time to connect and configure everything guarantees the best experience. Remember, even if you encounter issues, troubleshooting is part of the process. Once it’s set up correctly, you’ll enjoy immersive entertainment that makes every movie night worth the effort.