
To set up an ultra-short throw (UST) projector for a large screen close to the wall, ensure it’s mounted securely and aligned precisely to prevent distortion or keystone effects. Keep the projector just inches from the screen, but double-check the recommended projection distance for maximum clarity. Use adjustable mounts to fine-tune height and angle, making sure the image is sharp and centered. If you want to optimize your setup for big, clear images in small spaces, continue exploring the key tips ahead.
Key Takeaways
- Ensure precise measurement of the recommended projection distance to maintain image clarity and avoid distortion.
- Use a secure, adjustable ceiling mount to align the projector accurately with the large screen for sharp focus.
- Position the projector close to the screen, following the manufacturer’s short throw ratio guidelines to minimize keystone effects.
- Verify unobstructed access and adequate ventilation to prevent overheating and ensure consistent image quality.
- Utilize a dedicated, high-contrast screen for optimal color accuracy and clarity in close-proximity large-screen setups.
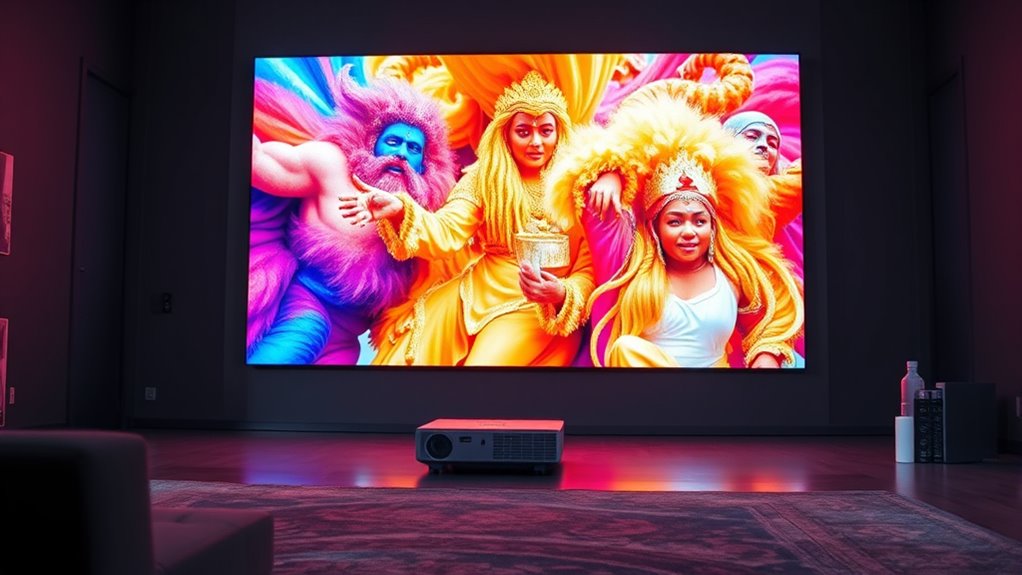
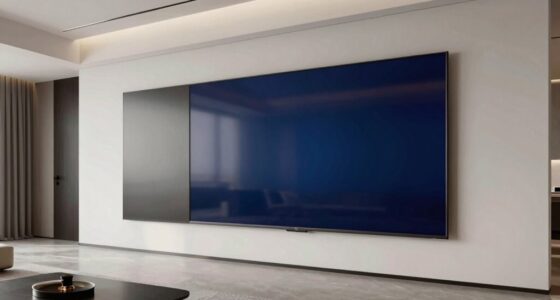
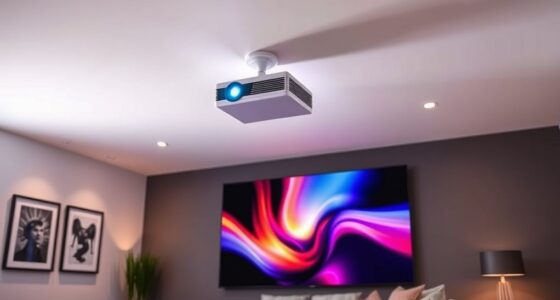
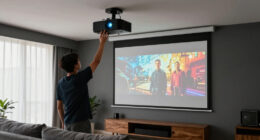
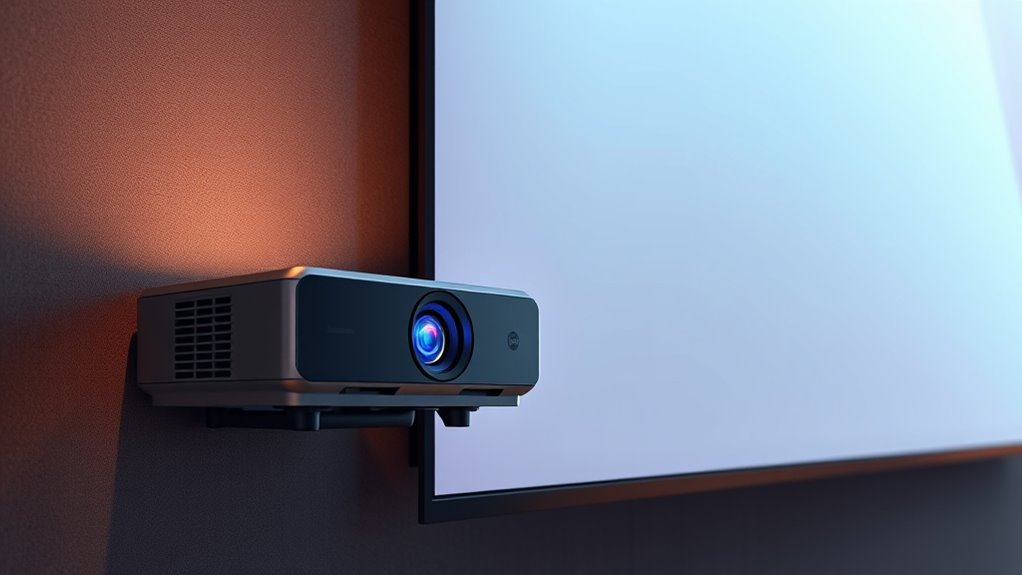
Ever wondered how to achieve a stunning big-screen experience in a small space? With an Extreme Short Throw (UST) projector, you can enjoy a large, vibrant display right up close without cluttering your room. The key is understanding the significance of projection distance and how to properly set up your ceiling mount. Unlike traditional projectors that need to be placed far back from the wall, UST models are designed to work with a very short throw ratio, meaning the projector can sit just inches away from the screen. This allows you to maximize space and eliminate the need for a large projection area behind the projector. To get the best image quality, you need to pay close attention to the projection distance — the space between the projector and the screen. Since UST projectors are optimized for specific throw ratios, sticking to the manufacturer’s recommended projection distance ensures a sharp, well-focused image. Too close or too far will compromise picture clarity, so measure carefully before mounting. Speaking of mounting, a ceiling mount is often the ideal choice for a UST setup. It keeps the projector stable, out of the way, and perfectly aligned with your screen. When installing, make sure the ceiling mount is secure and adjustable, so you can fine-tune the projector’s position. Proper mounting also helps maintain the correct projection distance, preventing image distortion or keystone effects. Positioning the projector at the right height and angle is vital for a seamless, immersive experience. Many ceiling mounts come with adjustable arms or tilts, allowing you to align the projector precisely with your screen. This is especially important given the close proximity of the projector to the wall; even a slight misalignment can cause image distortion or uneven focus. Keep in mind that the shorter the projection distance, the more precise your mounting needs to be. Once mounted, double-check the alignment from your viewing position — the goal is to have an even, rectangular image without trapezoidal distortion. Also, ensure that the projector is not obstructed and has ample ventilation, since UST models tend to generate more heat. Proper setup, including correct projection distance and a secure ceiling mount, guarantees your UST projector delivers a crisp, immersive image that feels like a cinema experience without needing a giant room. To further optimize your setup, consider using a dedicated screen designed specifically for ultra short throw projectors, which can enhance contrast and color accuracy. It’s all about accuracy and planning, but once you’ve nailed the setup, you’ll enjoy a stunning big-screen experience right in your own space.
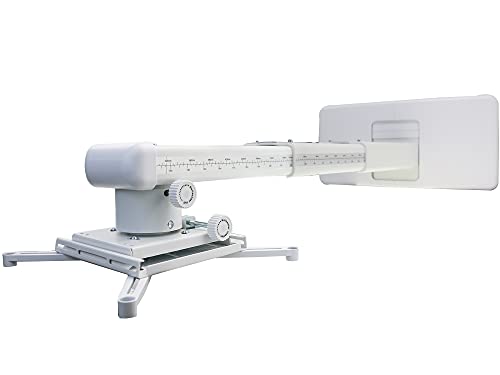
NC Projector Wall Mount with Universal mounting ,Telescopic Bracket Hanger,33lbs Load Capacity,High-Precision Adjustable: (12.8’’-29.13’’),white,(TYYZJ02)
ultra Short Throw Projection,Most sturdy of all, great fine tune knobs, best manual (very very detailed),It has the…
As an affiliate, we earn on qualifying purchases.
As an affiliate, we earn on qualifying purchases.
Frequently Asked Questions
How Do I Prevent Image Distortion With Large UST Screens?
To prevent image distortion on large UST screens, make certain the projector’s aspect ratio matches your screen’s dimensions. Use keystone correction sparingly to fix any skewed edges, but avoid overdoing it as it can degrade image quality. Position the projector at the correct distance and angle, and double-check the settings to maintain a proper aspect ratio, guaranteeing a clear, distortion-free picture across your large screen.
What Is the Ideal Room Size for a Large UST Setup?
For a large UST setup, aim for a room with at least 12 feet in width and 15 feet in length, with a ceiling height of 8 to 10 feet. These room dimensions help you avoid image distortion and guarantee proper projection quality. A spacious room also minimizes shadows and allows for comfortable viewing angles, giving you an ideal experience without feeling cramped or compromised by limited space.
How Do Ambient Light Conditions Affect Large UST Screens?
Ambient light can turn your stunning large UST screen into a dull, washed-out mess if you’re not careful. Bright rooms or direct sunlight cause glare, making it nearly impossible to see details clearly. To keep your picture pristine, you must master glare management by dimming lights, adding blackout curtains, or using anti-reflective screen coatings. Control ambient light, and your gigantic screen will stay crisp, vibrant, and breathtaking.
Can I Use a UST Projector Outdoors for Large Displays?
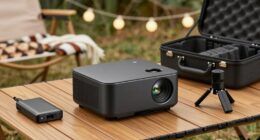
Yes, you can use a UST projector outdoors for large displays, but you need to take into account outdoor durability and weather conditions. Choose a projector with weather-resistant features or make sure it’s protected in a suitable enclosure. Keep in mind that rain, moisture, and temperature changes can affect performance, so always check the manufacturer’s outdoor usage recommendations. Proper setup ensures your outdoor large display stays bright, clear, and functional.
What Maintenance Is Required for Large UST Projection Screens?
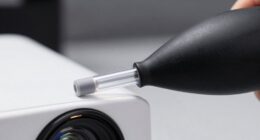
You’ll need to regularly clean your large UST projection screen with gentle screen cleaning solutions to keep the image sharp. Additionally, calibrate your projector periodically to maintain color accuracy and brightness. Check for dust buildup and keep the projector’s filters clean to prevent overheating. These simple steps guarantee your large UST setup performs at its best, providing clear images and a seamless viewing experience every time.

Silver Ticket Products STR Series 6 Piece White 1.1 Gain 120" Diagonal 16:9 Format Projection Screen, Aluminum Frame, Wall Mounted, 109.25×63.625 inches STR-169120
Wall Mounted Fixed Frame Projection Screen (Overall Size 63.625" Tall x 109.25" Wide) (Viewing Area 120" Diagonal x…
As an affiliate, we earn on qualifying purchases.
As an affiliate, we earn on qualifying purchases.
Conclusion
So, here you are, just inches from a massive screen, thinking you’ve cracked the ultra-short throw code. Ironically, all that close proximity can bring its own set of headaches—shadows, glare, and alignment quirks. But hey, who needs perfect tech when you’ve got a giant display right in your face? Embrace the chaos; sometimes, the biggest screens come with the smallest surprises. After all, perfection is overrated when you’re literally this close.

WALI Universal Projector Screen Ceiling Mount, Wall Hanging Mount L-Brackets, 6 inch Adjustable Extension with Hook Kit, Projector Screen Placement Hold up to 66 lbs (PSM001-W), White
Application: Fits most manual or spectrum projector screen on the market. Support maximum loading weight up to 66lbs…
As an affiliate, we earn on qualifying purchases.
As an affiliate, we earn on qualifying purchases.
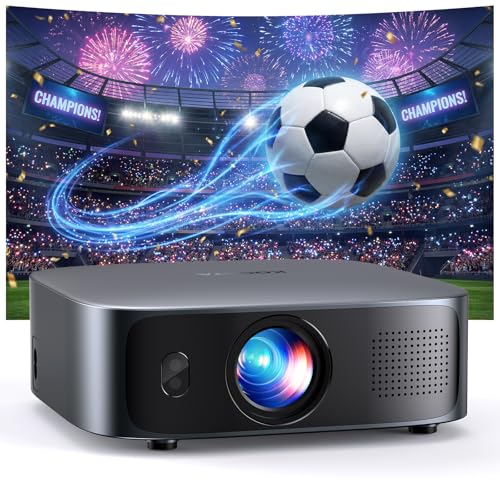
Short Throw Projector 4K with WiFi and Bluetooth,2000ANSI Auto Focus Keystone Smart Projector Built in Apps Dolby Audio Home Theater Movie Portable Outdoor Projector Ceiling Gunmetal
Unveil 2026 New Era of Smart Projectors: Say goodbye to messy cables, long throw distances, and tedious setup….
As an affiliate, we earn on qualifying purchases.
As an affiliate, we earn on qualifying purchases.